How to Foundation Paper Piece

Foundation Paper Piecing, or FPP, is one of those quilting techniques that looks complicated at first glance but is actually very methodical. By sewing directly onto a printed paper template, you can create sharp points, clean angles, and precise quilt blocks without the stress of perfectly cutting or piecing ahead of time.
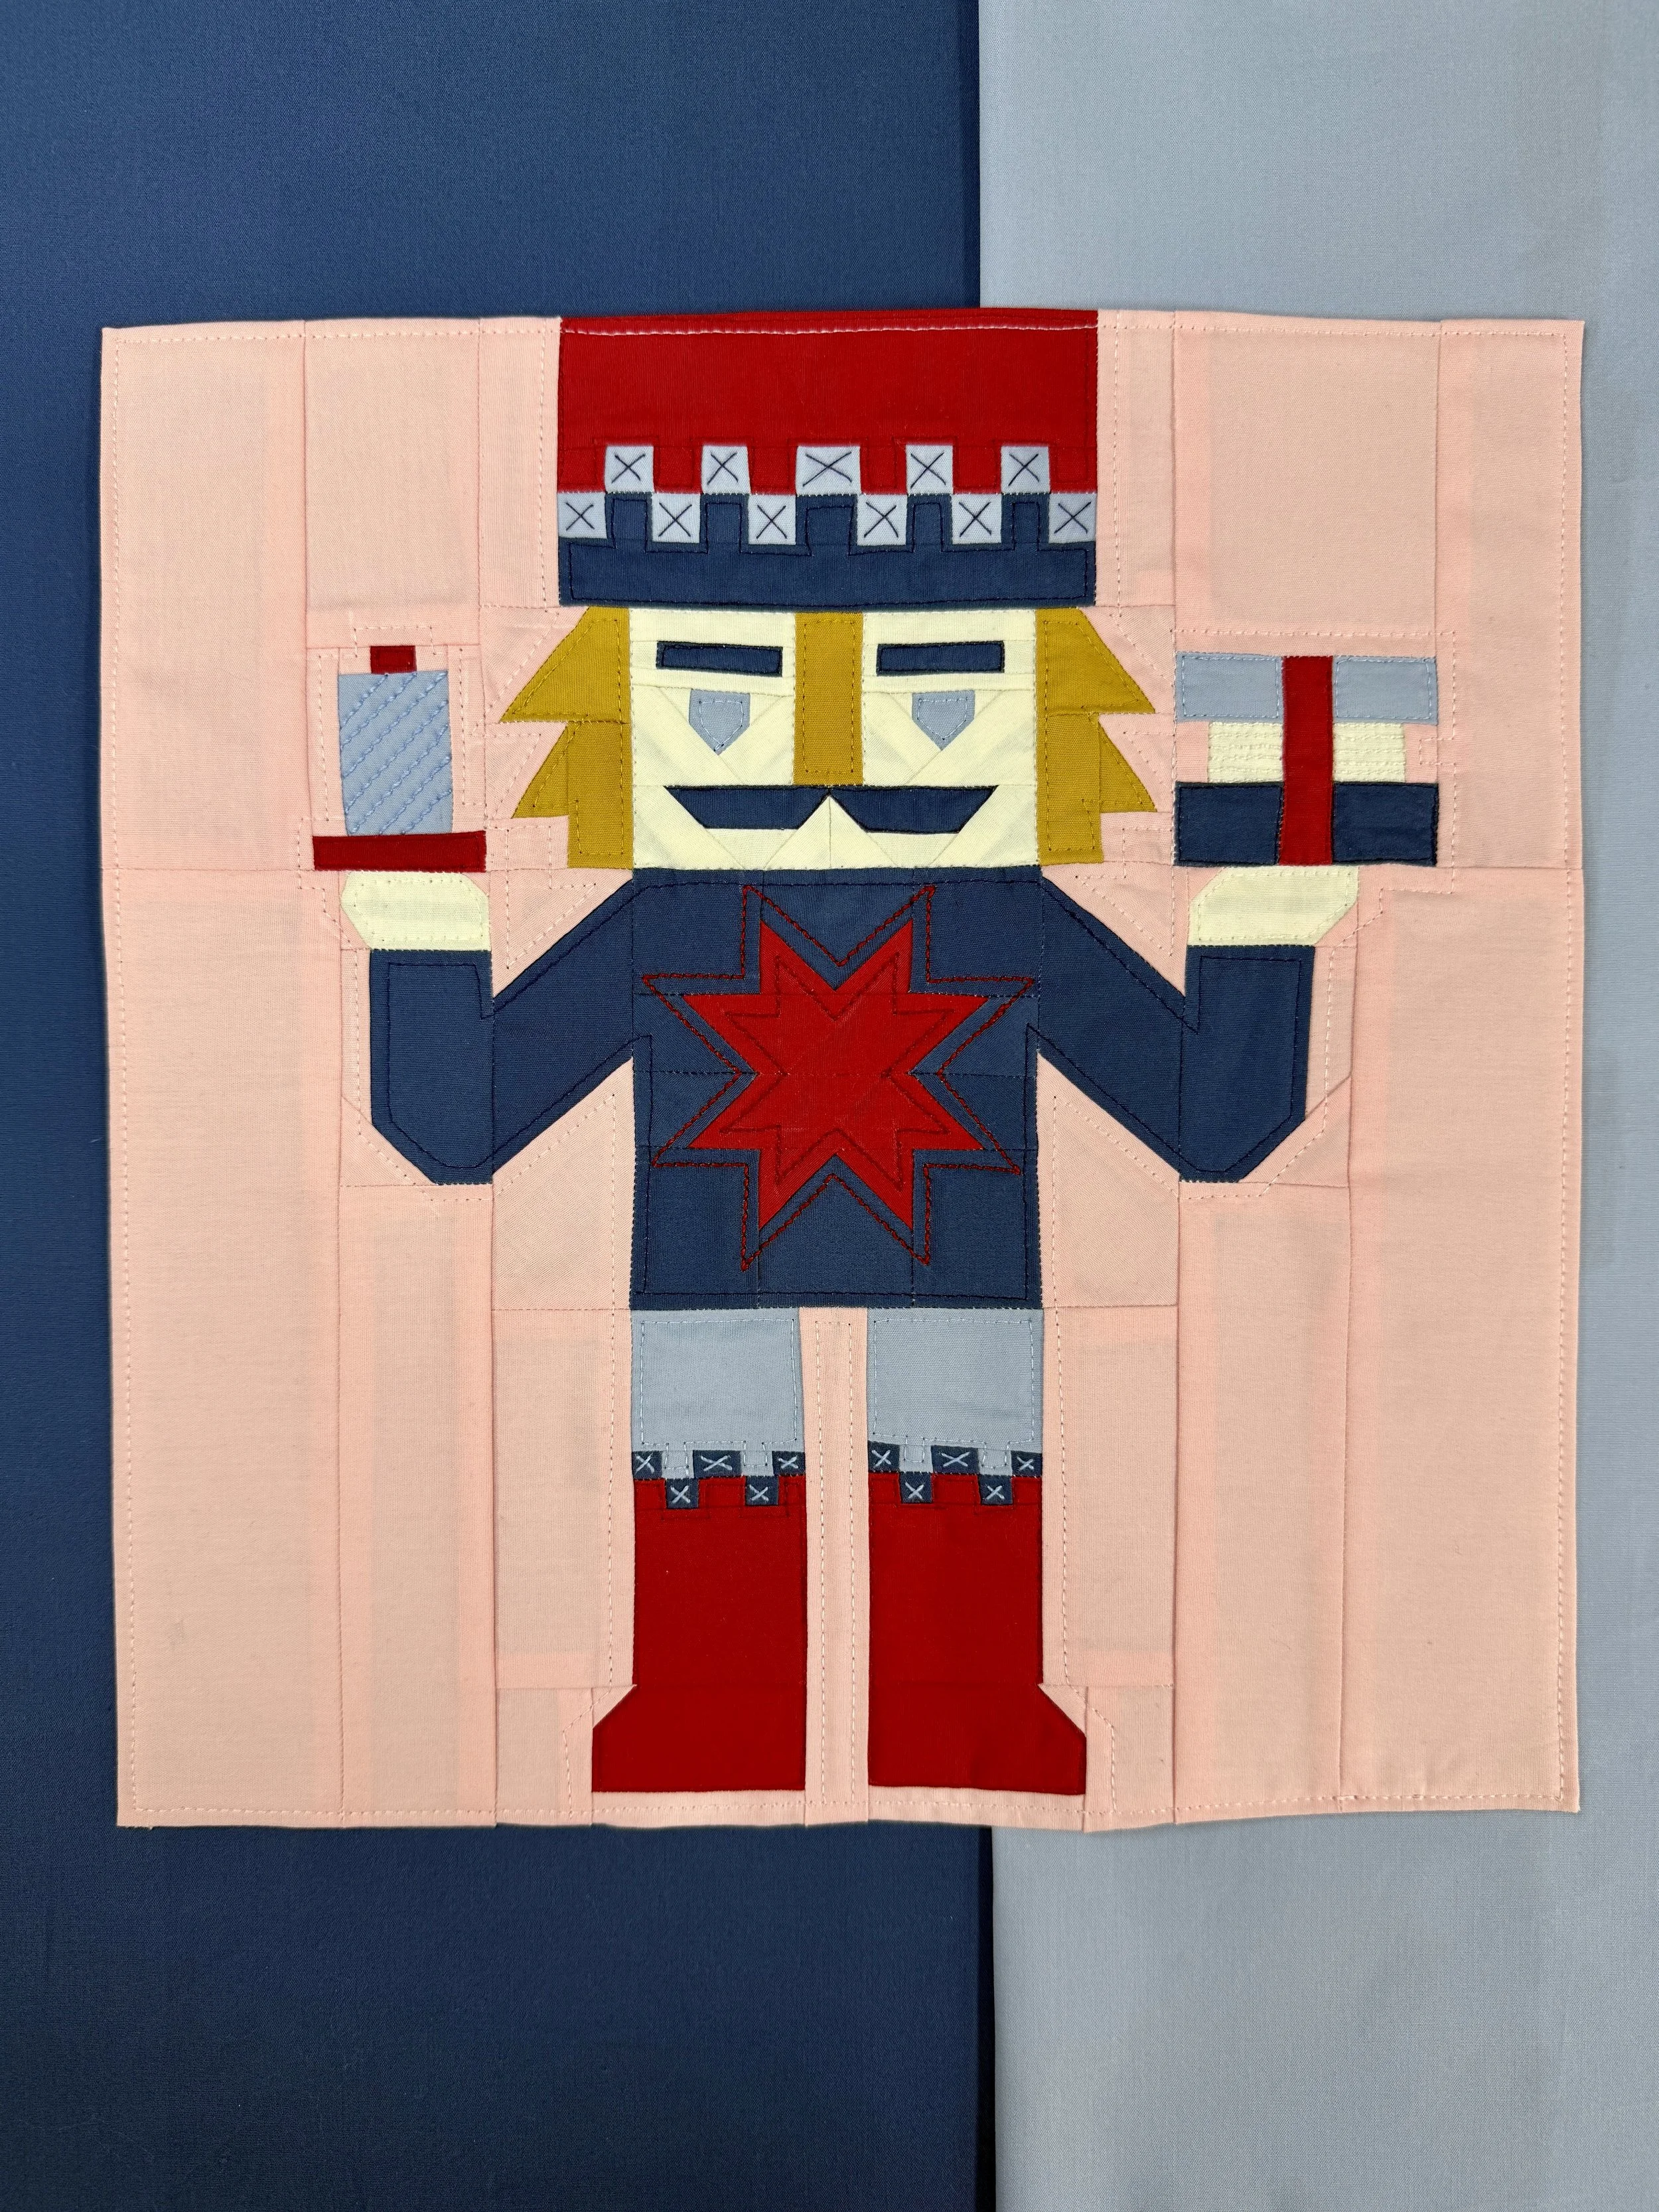
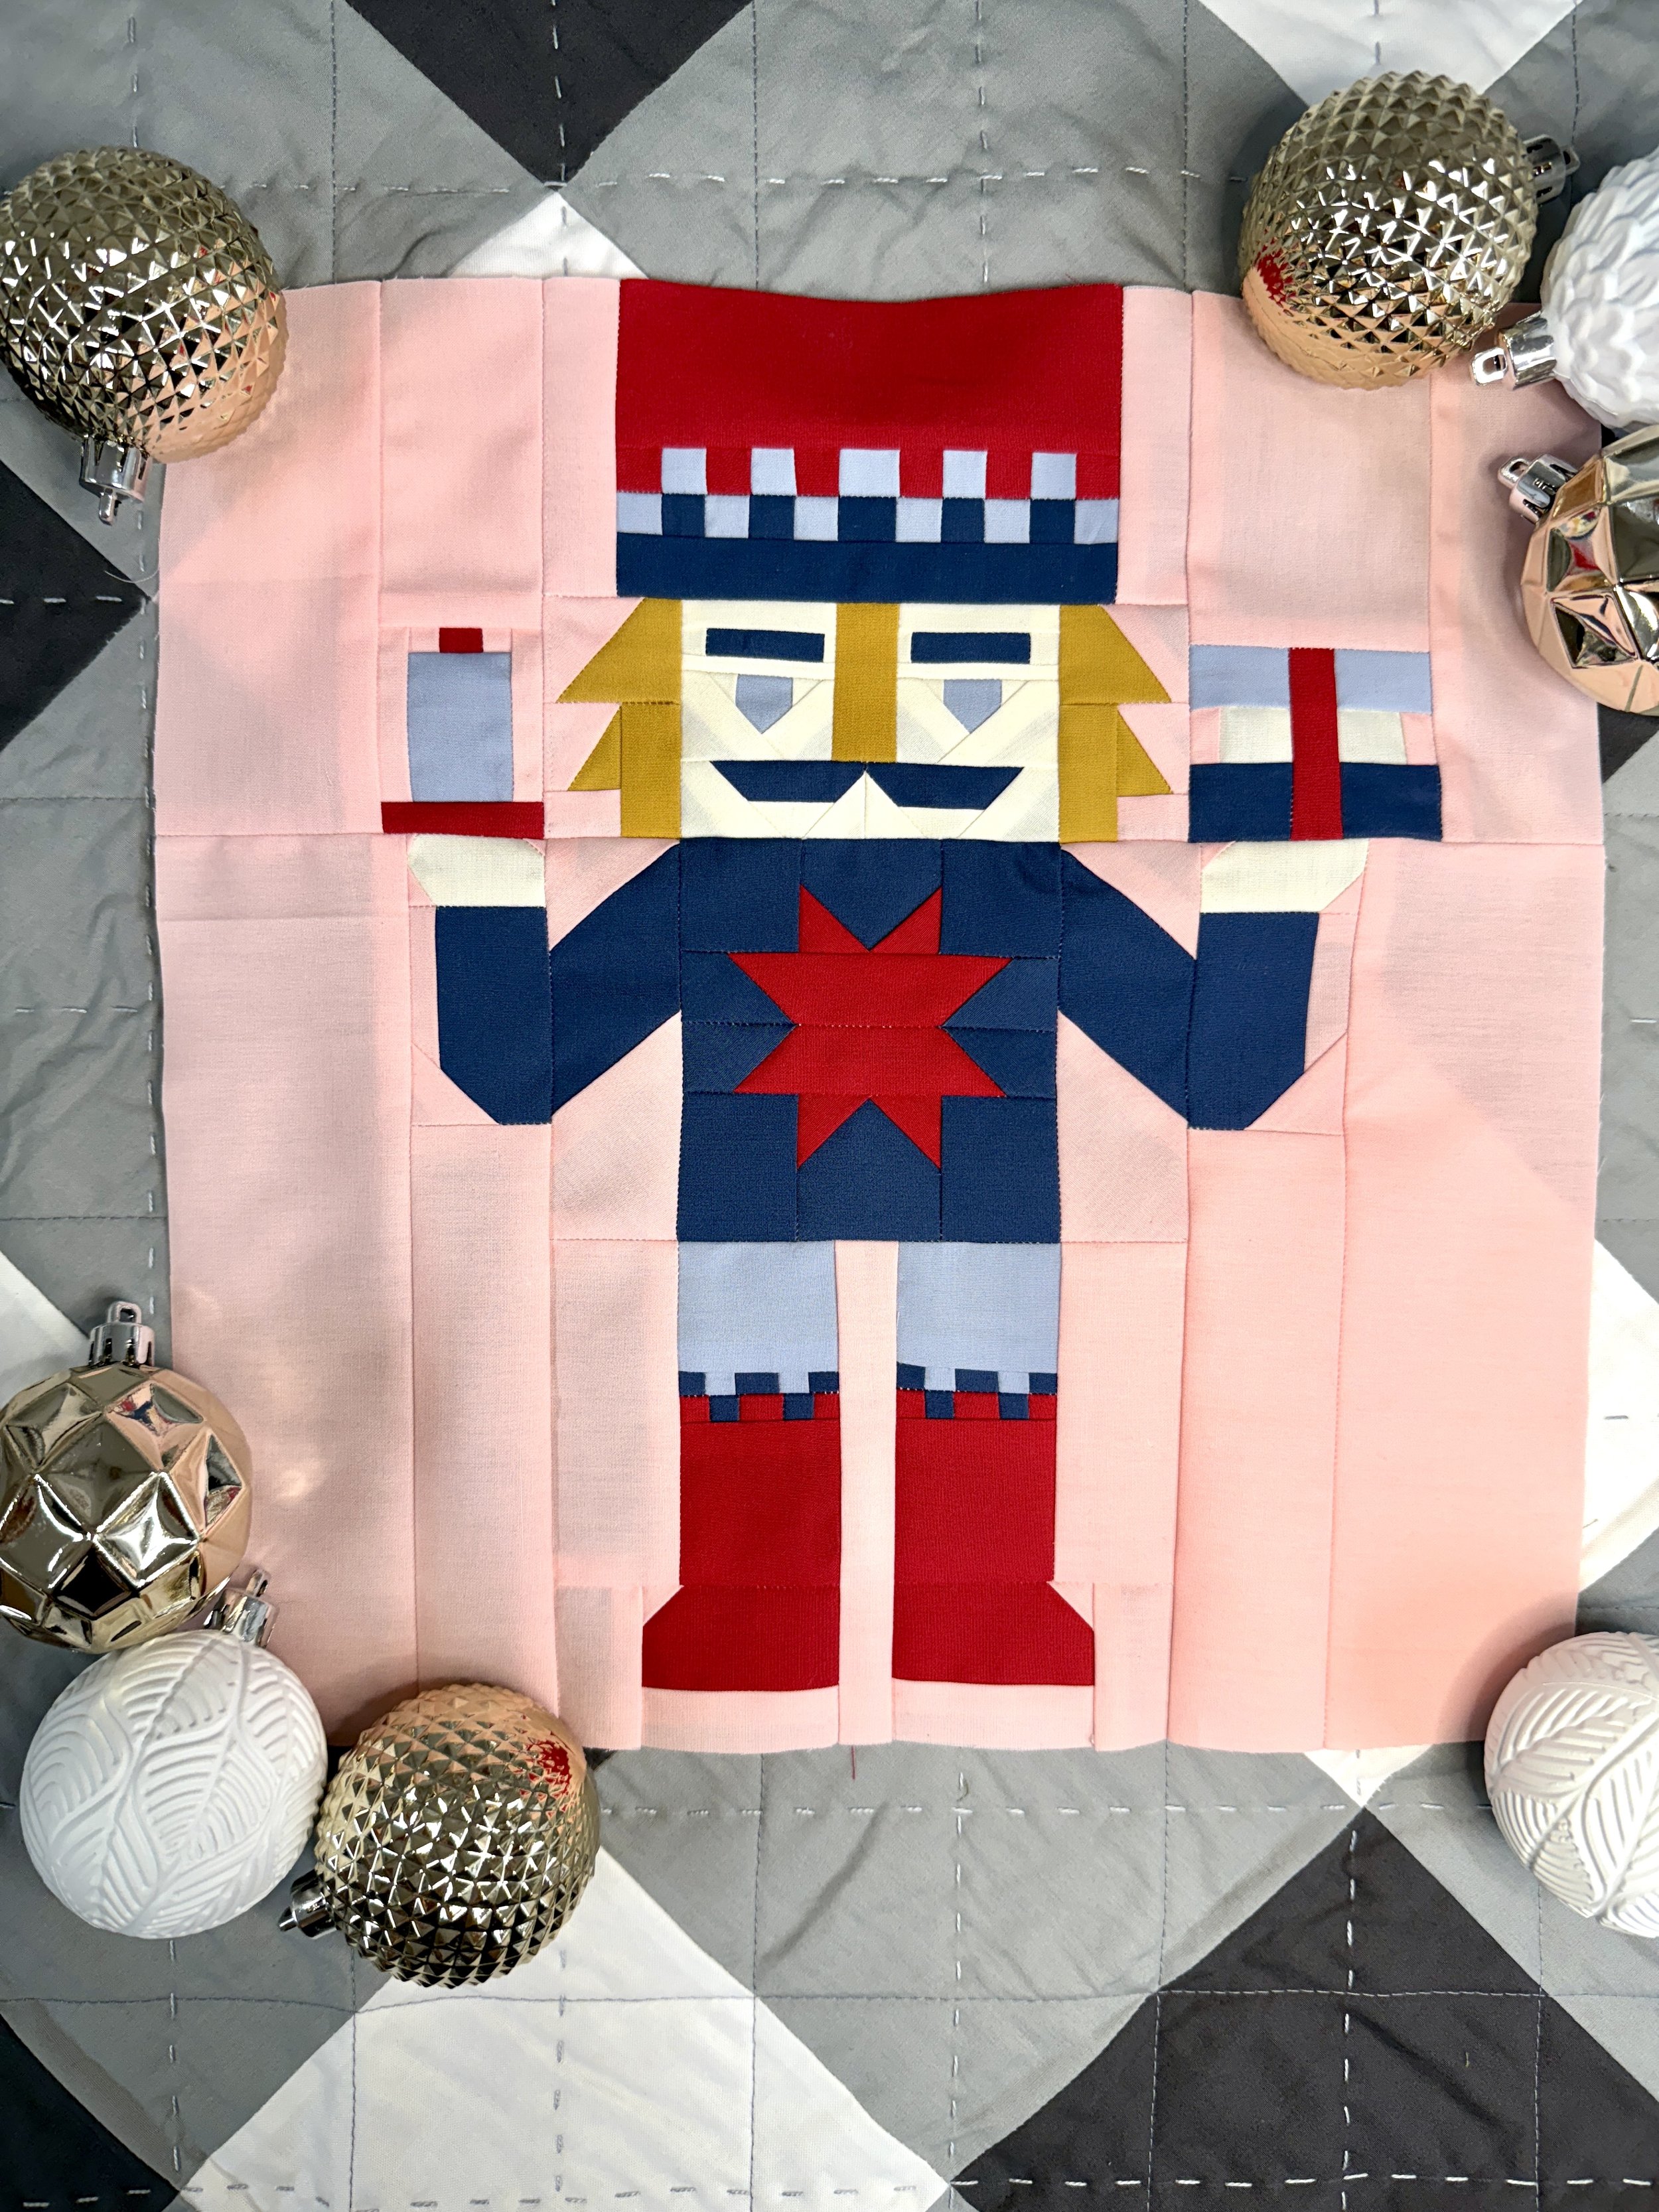
In this tutorial, I’ll walk you through the process using a unit of the Quilty Nutcracker pattern as an example. If you’re new to FPP, don’t worry — we’ll take it step by step, from prepping the template to tearing away the paper at the end.
Aurifil thread used → 2260 50 wt + 12 wt (red), 2785 50 wt + 40 wt (dk. blue), 2710, 50 wt + 12 wt (lt. blue), 2410, 50 wt (pink), 5022, 50 wt (gold), 231150 wt + 12 wt (cream)
Supplies
Pattern, Quilty Nutcracker Block
FPP Paper & Printed FPP template (100% scale)
Fabric per pattern or scraps (cut larger than template sections)
Sewing machine with fresh needle
Thread (50 wt cotton, recommend Aurifil)
Rotary cutter, mat, and ruler
Add-a-Quarter ruler (optional but helpful)
Iron and pressing surface
Pins or clips
Scissors (for paper + fabric)
Small trash bin
Visual Learners
Video Length: xx minutes, coming soon
Step-by-Step: Foundation Paper Piecing
Step 1: Prepare the Template
Print your block template at 100% scale. Roughly trim around the outside edge, leaving extra paper around the seam allowance. On your sewing machine, shorten your stitch length to about 1.2–1.4. This will make the paper easy to remove later.
Step 2: Select and Position Fabric
Choose the fabric and and lay it on top to cover the first piece. Place the first piece right side up on the back of the paper, making sure it completely covers “1” with room to spare. Secure it with a glue stick. Fold back paper on the sew line between 1 & 2. Using add a quarter ruler, trim fabric.
Step 3: Add the Second Fabric
Take fabric #2 and place it right sides together with fabric #1, lining up the trimmed seam edge along the printed line between sections 1 and 2. To check coverage, fold the paper along the line — both fabrics should extend past the seam allowance.
Step 4: Sew on the Line
Flip the paper over so the printed side faces up. Stitch directly on the solid line between sections 1 and 2, back stitch at the beginning and end of the sewn line.
Step 5: Trim the Seam Allowance
Fold the paper back along the stitched seam and trim the seam allowance to ¼" with a rotary cutter and ruler.
Step 6: Press the Fabric
Open the second fabric and press it flat. Use an iron, seam roller, or finger press.
Step 7: Continue Adding Fabrics
Repeat the same process for each new section: place the fabric, sew on the line, trim the seam allowance, and press. Work in numerical order until all sections are covered.
Step 8: Square Up the Subunit
Once your subunit is complete, trim it to the outer seam allowance dashed line for a clean finish.
Step 9: Sew Subunit Together to Make Unit
Following the pattern, clip and sew the subunits together to create the units.
Step 10: Remove the Paper
Carefully tear the paper away from the back of the block. The short stitches perforated the paper, so it will release easily without disturbing your seams. Use tweezers if you need help with those small corner pieces.
Want to support my work and try Aurifil Floss?
🧵 Shop through my affiliate link here.
Learn More from Zahm Co.

QFA is the ultimate course for quilters at any stage who want to master essential quilting techniques and tools. Whether you’re just starting or looking to refine your skills, this course dives into the basics and beyond, covering valuable tips and methods that even seasoned quilters may not know. QFA is all about creating a solid foundation to elevate your quilting journey.

This step-by-step course is ideal for quilters who want to dive into the art of whole cloth quilting. Learn how to create stunning quilts using just fabric, thread, and creative designs. With video lessons, a detailed workbook, and lifetime access, you’ll master this elegant technique at your own pace.

The Quilting Compass is more than a membership—it’s your guide through every stage of your quilting journey. As a member, you’ll gain access to exclusive downloadable PDFs, ad-free blog posts, and monthly content tailored to help you grow as a quilter. Whether you’re a beginner or an experienced quilter, The Quilting Compass ensures you always have the tools and inspiration you need to succeed.
And don’t forget to tag me @zahmco, I’d love to cheer you on.

Hello!
I’m Katie the designer and maker behind Zahm Co. Thank you for being here, I hope you find this blog helpful. For blog notifications, subscribe below!
Click the image to learn more about me.
xx