
Hand Stitching Labels
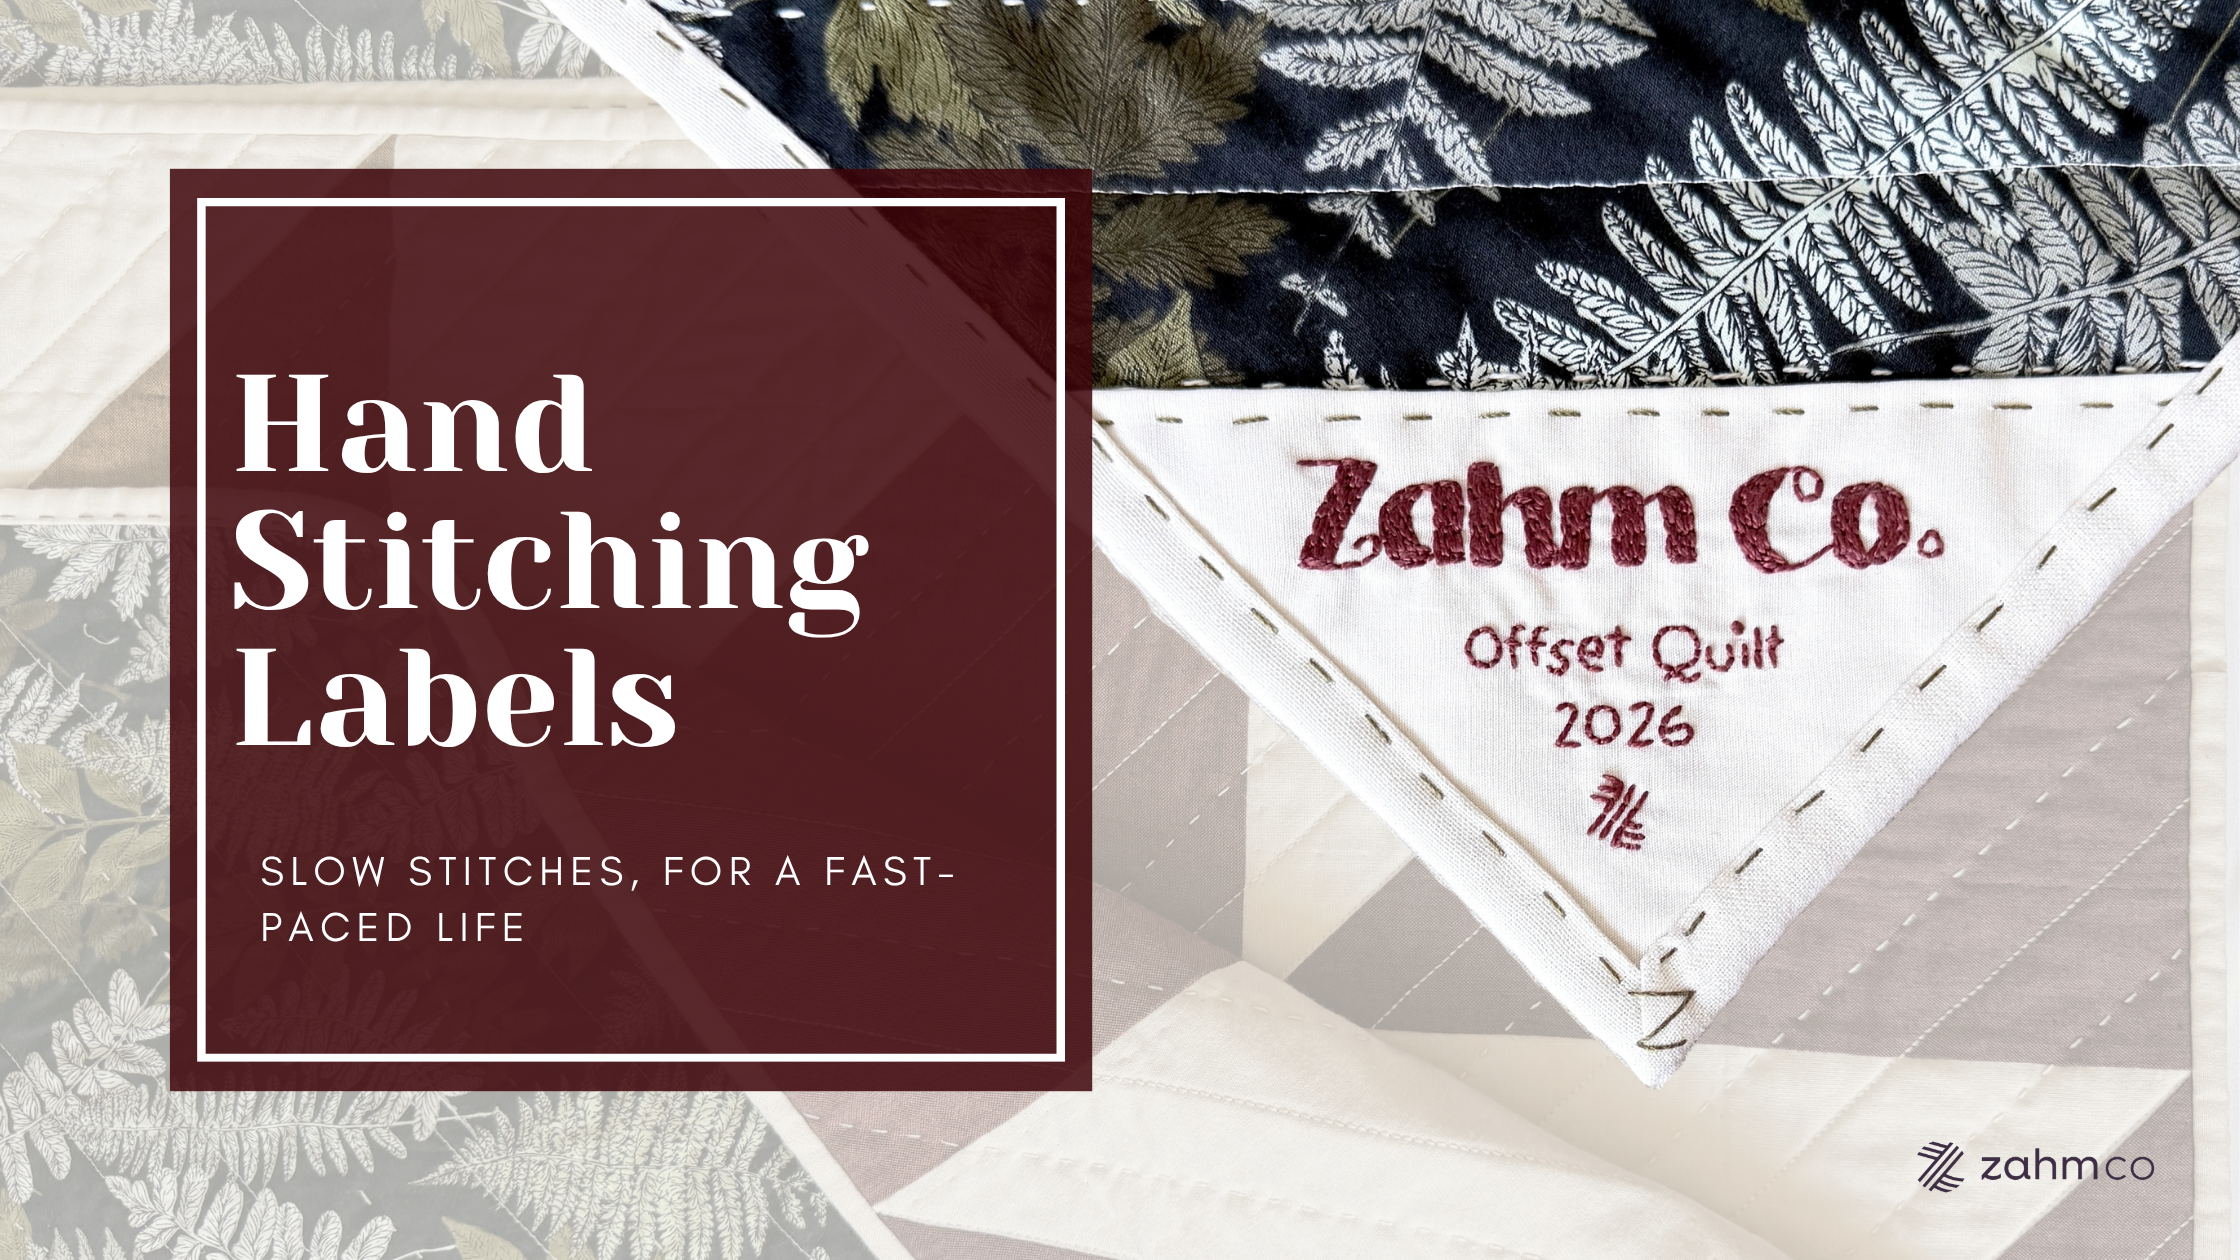
Slow stitches, lasting stories.
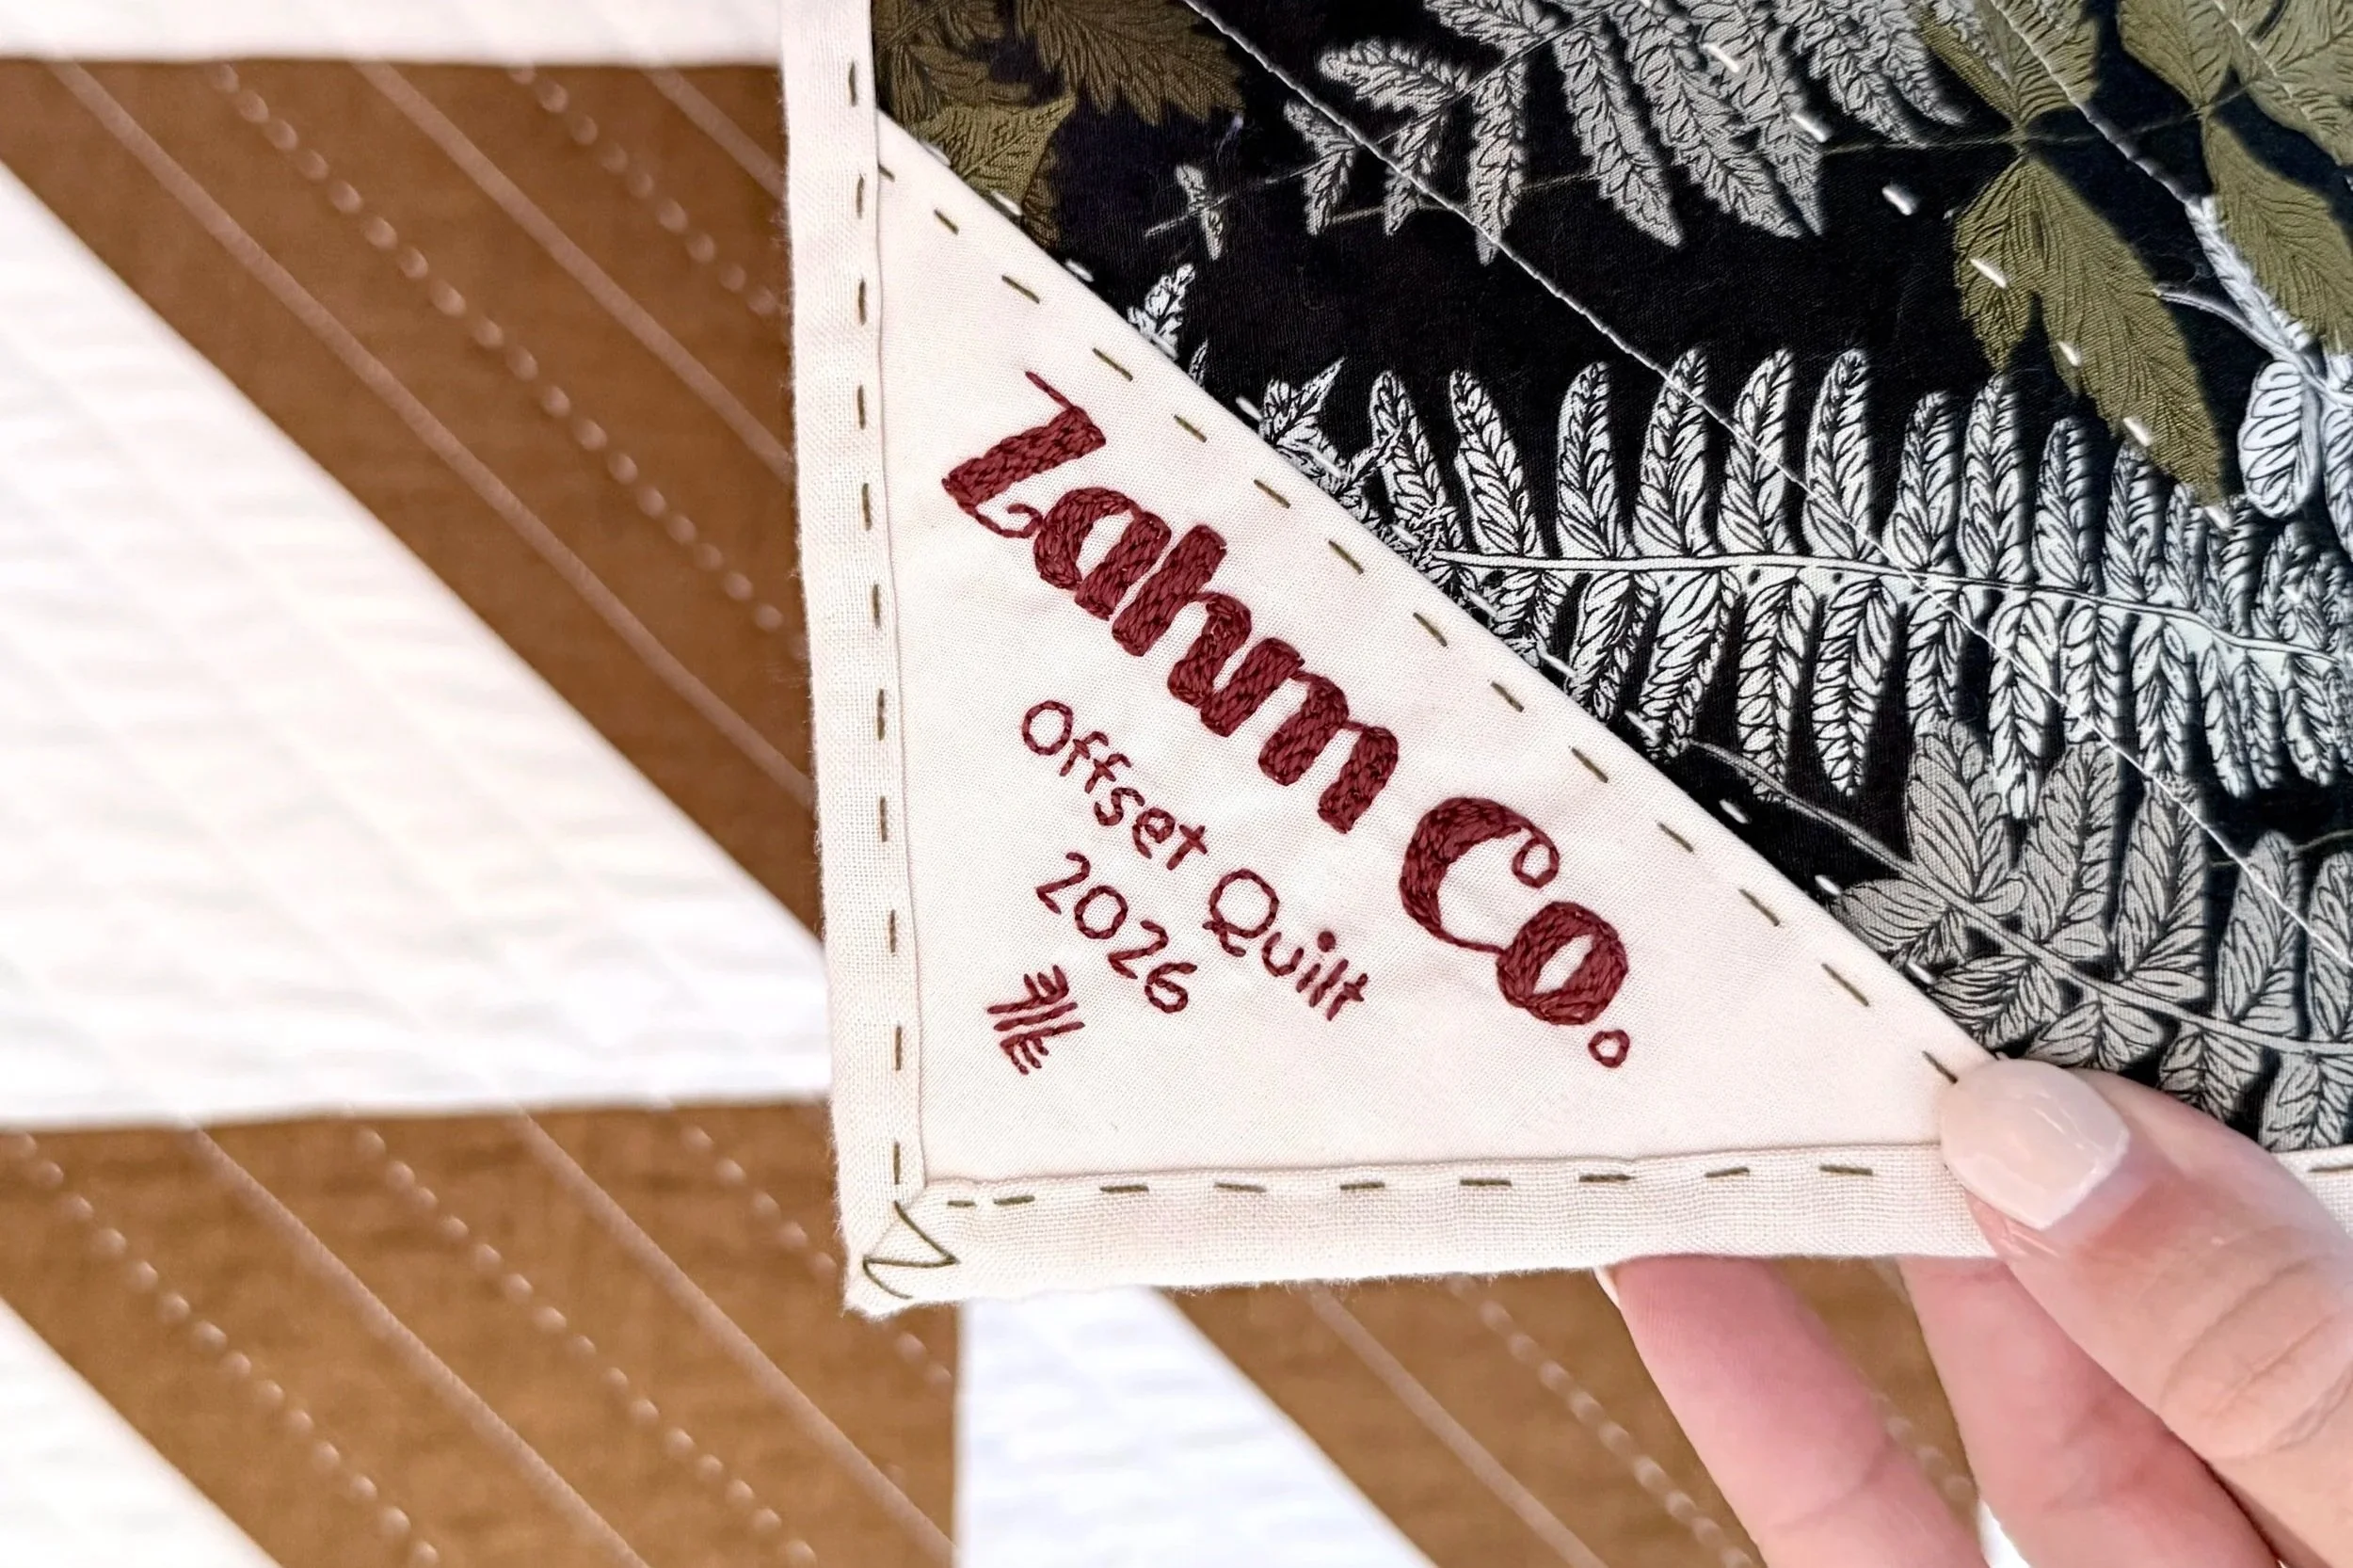
I have always had a soft spot for a good quilt label. It's the part of a quilt that tells the story: who made it, when, where, or for whom. Long after we're gone, that little triangle of fabric is what speaks for us. So when Aurifil challenged us to step outside our comfort zone and try something new, I knew exactly where I was headed: hand embroidered labels.
Life right now moves at the speed of a two-year-old. Everything is fast, loud, and wonderfully chaotic. Somewhere in the middle of all that, I found hand embroidery, and I fell for it hard. One stitch, then another. No machine humming, no rushing, just thread and needle and a few quiet minutes that feel like mine. And the best part? It goes wherever we go. A hoop and a few spools fit easily in my bag, so I can stitch at the park, in the backyard, or on an airplane. The stitches may be slow, but they're perfect for a fast-paced life.
Stitching letters is a skill you can always keep growing. Curves are tricky, sizing takes patience, and my lettering will never be perfect. That's kind of the point. A handmade label should look like a human made it.
Here are a few things I've learned along the way.
1. Decide what your label needs to say
Before you stitch anything, decide what story your label is telling. At minimum, I include my name, the quilt's name, and the year. From there, you can add the city, who it was made for, the occasion, or even the pattern and fabric line. Here's my tip: write it all out first, then edit.
2. Choose your lettering (font) style
This was my biggest "aha" moment. Before you think about stitches, start with your letters. Are you drawn to flowing script, clean print, or bold block letters? Each one sets a different mood for your quilt. Script feels personal and romantic, print feels modern and simple, and block letters make a statement.
My tip: print your label text in a few different fonts at the actual size you'll stitch it. Tiny loops and tight curves look lovely on screen but can be tricky to stitch at label size. You can also pair two styles, one for the quilt name and a simpler one for the details, so your label has a clear focal point without getting busy.
[Photo: the same label text printed in a few different fonts]
3. Let your lettering choose your stitch
Once you've picked your lettering, let it guide your stitch. The stitch you choose gives your letters their personality. The same word stitched in five different stitches looks like five different fonts. A back stitch gives you clean, simple lines. A stem stitch creates a smooth, rope-like line that flows beautifully around curves, which makes it my favorite for script lettering. A chain stitch reads bold and playful. Brick and satin stitches fill in shapes and give letters weight.
The fun part, and the part we dig into in class, is learning which stitch works best for which letter style, and how to mix them on one label.
3. Thread weight is a design choice
Aurifil gives you so many ways to control how much your stitches pop. Floss lets you choose how many strands you use, so you can go delicate or bold. 12wt gives you a crisp, defined line, and 8wt is thick, textured, and made to be seen. My tip: stitch a small test of your letters on a scrap before committing. What looks right on the spool doesn't always look right in a tiny lowercase "e."
4. Get your lettering onto the fabric
You don't have to freehand your letters. You can trace with a lightbox (an iPad works in a pinch!) and a heat-erasable pen, or skip tracing entirely with stick-and-stitch stabilizer: print your design, peel, stick, stitch, and rinse it away when you're done. It's a game changer for anyone nervous about their handwriting.
[Photo: stick-and-stitch stabilizer in the hoop mid-stitch]
5. Size, fabric, and placement matter more than you'd think
A label that's too small makes lettering a struggle, and a label that's too big can feel like an afterthought. Fabric choice affects how smoothly your stitches lay, and where you place the label on your quilt says something too. There are also more ways to attach a label than just whipstitching it to the back once you're done. We cover all of these in class.
[Photo: a label placed on the back of a quilt]
My September Entry: A Label for Offset
For this challenge, I stitched a label for my newest quilt, Offset, using [Aurifil thread weight(s) + color names/numbers]. [One or two sentences about your stitch choices, e.g. "I used stem stitch for the quilt name and back stitch for the details."]
Offset is a throw-size quilt, and I'm so excited to share that it's coming soon as a free pattern. It's the perfect canvas for your first hand-embroidered label. Sign up for my newsletter to be the first to get it: [newsletter link]
[Photo: cropped corner or folded peek of the Offset quilt]
Come Stitch With Me
If you've been wanting to label your quilts but didn't know where to start, I'd love to teach you. I'll be teaching Hand Embroidery Quilt Labels at Road to California in January and at QuiltCon in February, where I'll also give my lecture, Quilt Labels without Fear. In class, you'll practice all five core stitches, learn how to pair stitches and thread weights to match your lettering style, and leave with a finished sample and the confidence to label every quilt you make.
📍 The Quilt Store, Broomfield, CO 🗓️ Wednesday, October 21, 2026
📍 Road to California Quilters Conference, Ontario, CA 🗓️ January 2027
📍 QuiltCon, Atlanta, GA 🗓️ January 2027
Thank you, Aurifil, for the nudge to try something new. Turns out slowing down was exactly what I needed.

Hello!
I’m Katie the designer and maker behind Zahm Co. Thank you for being here, I hope you find this blog helpful. For blog notifications, subscribe below!
Click the image to learn more about me.
xx