Astra Quilt SAL: Week 2
Week 2: Cutting Fabric, Organizing Fabric & Sewing a Block
Welcome to Week 2 of the Astra Quilt Sew Along (SAL)! This week will be cutting our fabric, organizing our pieces, and sewing our first block. If you recently joined the SAL, welcome! To catch up read the “Welcome Note” & “Week 1”.
SAL Schedule
Week 1: Select Fabric & Gather Supplies - July 9th
Week 2: Cut, Organize Fabric, & Sew 1 Block - July 16th
Week 3: Sew 4 Blocks - July 23rd
Week 4: Sew 4 Blocks - July 30th
Week 5: Sew 3 Blocks & Cornerstone Rows - August 6th
Week 6: Assemble Quilt Top - August 13th

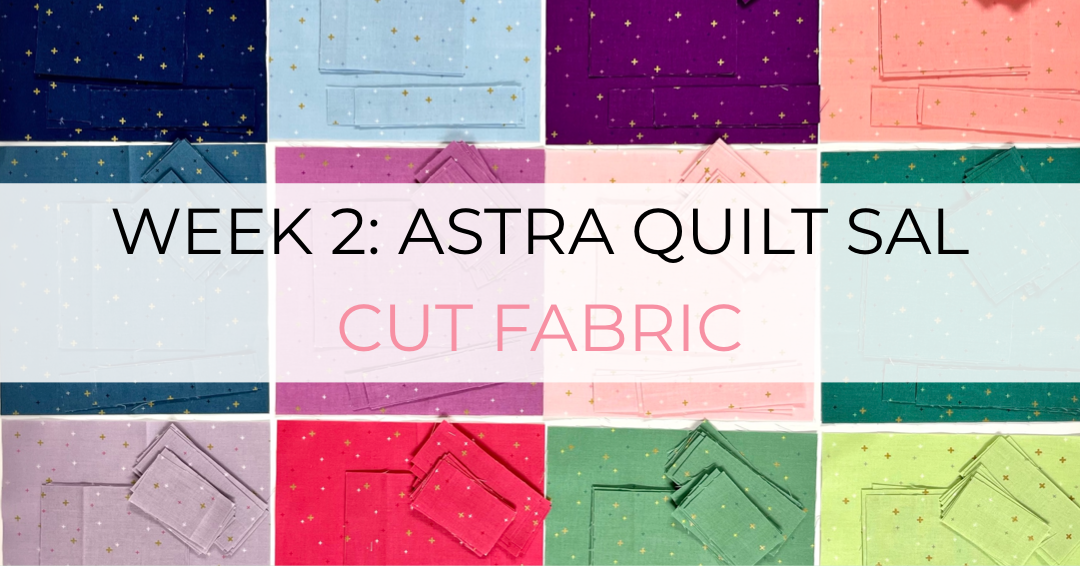
Cut Fabric
Before you cut
Change your rotary cutter blade if it’s been a while. A new blade can make a huge difference.
For accuracy, cut with the measurements from the ruler, not the cutting mat.
Press all fabric before starting; I love my Best Press.
I rarely prewash fabrics, the only times I do is when I use hand-dye or fleece fabrics.
Favorite Tools for Cutting
Quilting Ruler 3.5” x 12.5” (help with flying geese)
Quilting Ruler 6.5” x 6.5” (help square up block units)
Quilting Ruler Stripology XL (helps save a ton of time with the background fabric)
TIP! After cutting, keep all your scraps bigger than an inch nearby. Trust me on this! These will be “just in case” until you have completed sewing all your blocks.
Background Fabric (throw size)
3 7/8 yards (4 yards if you rounded up) can be intimidating. Use this cutting diagram to help guide you.
Ensure you cut the larger pieces first with each sub-cut section.
Modern or Two-Color Block Version (A - E Fabrics)
Within the Astra pattern, I provide a cutting diagram (page 5 paper, page 4 PDF) for the Modern Version in Fat Quarters (FQ).
To save time, stack 2 FQ at once. Make sure you set aside one FQ for Fabric F.
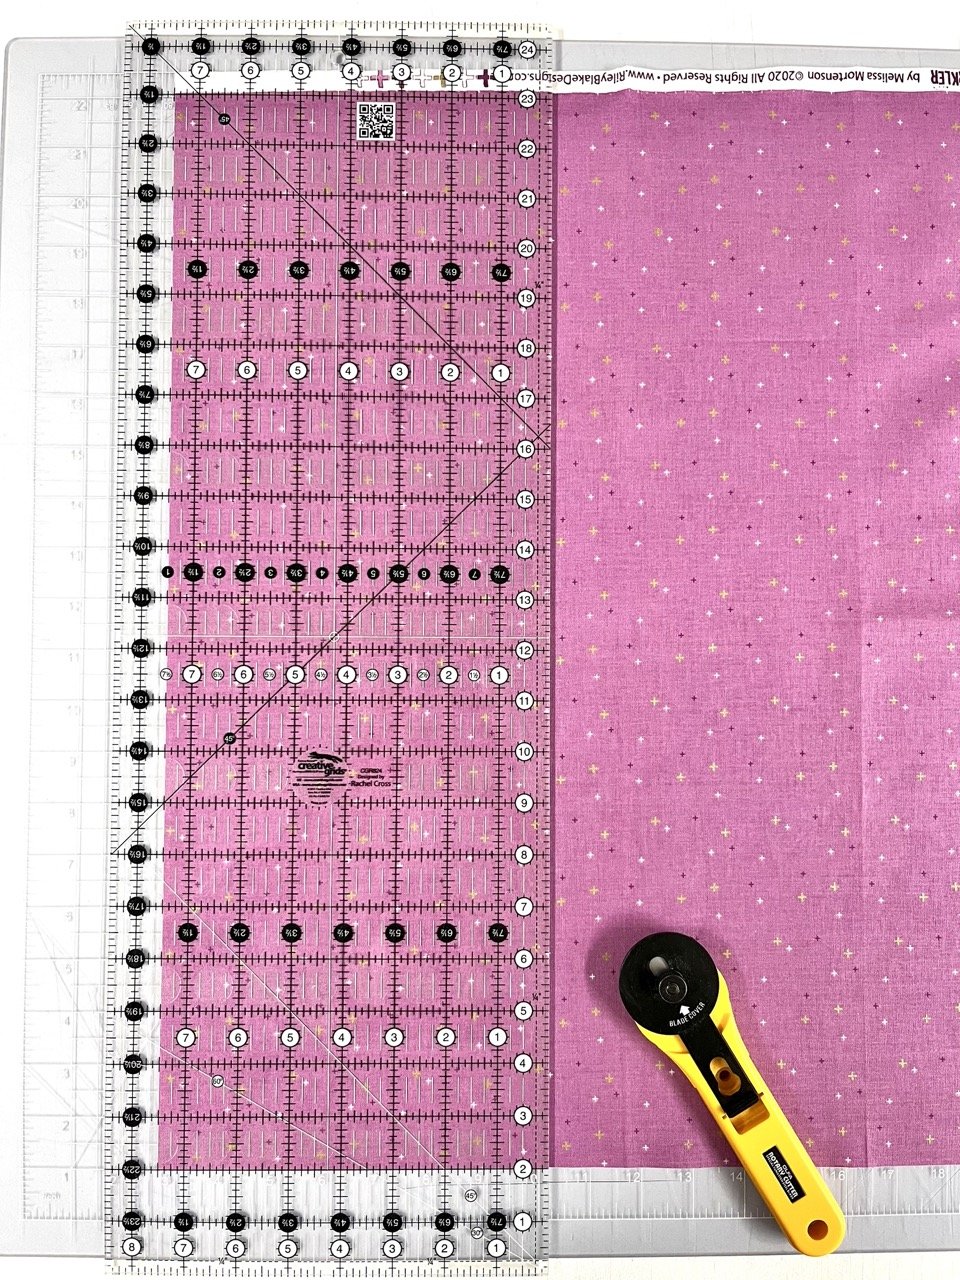
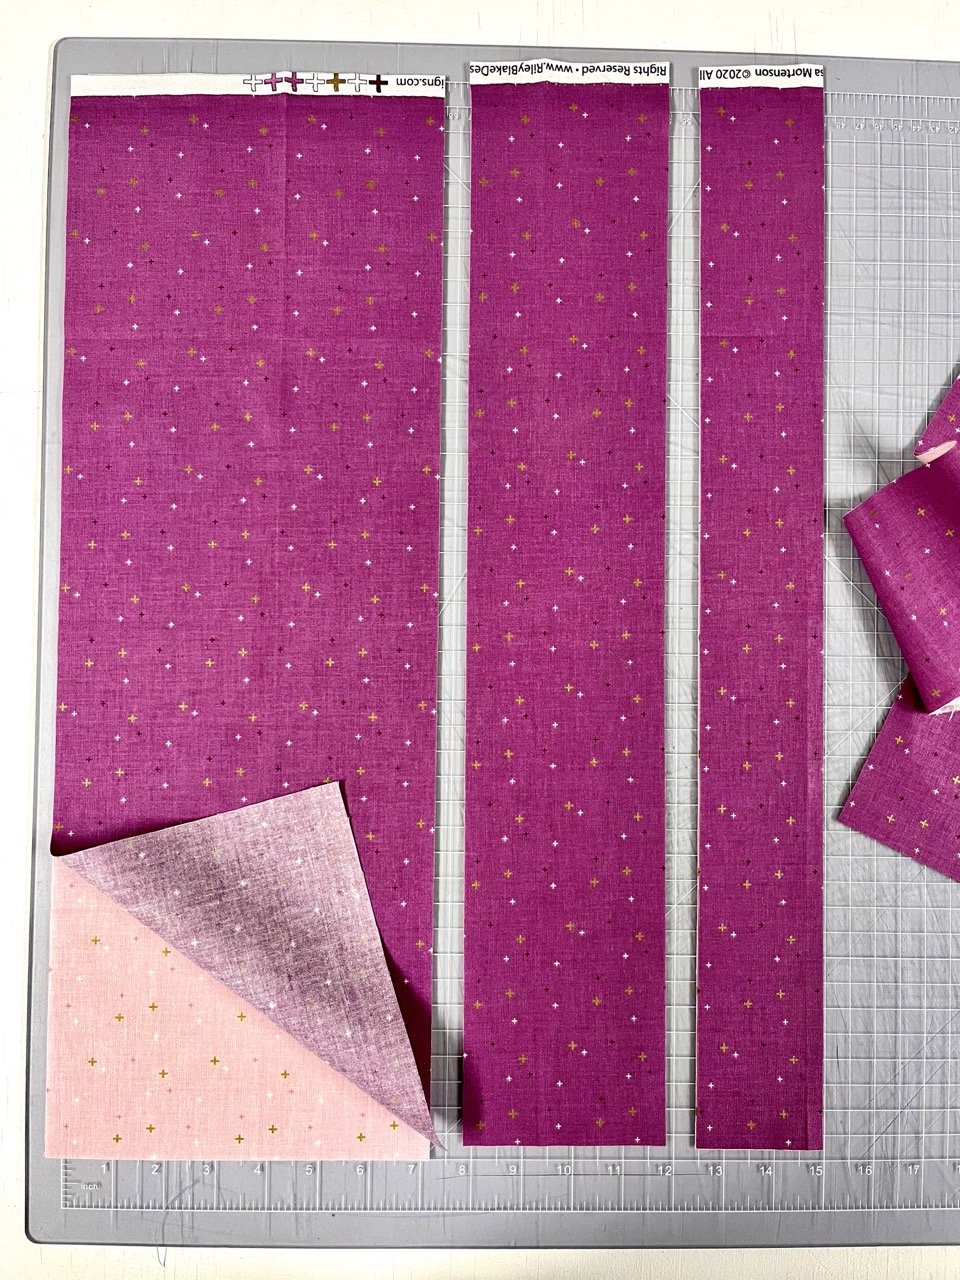
Align your FQs with the 18” side facing you on the cutting mat and square up the left and bottom edges.
Using your ruler, cut the strips according to the diagram in the pattern (Modern - 7 1/2”, 4 1/2”, & 4 1/2”) x 22”
Then, sub-cut with both fabrics still stacked together, one FQ will cut down into 26 pieces.
Separate the fabrics and stack the same fabrics together.
Stack 2 FQ at at time
Align your FQs with the 18” side facing you, square up the bottom and left side.
Using your ruler, cut the strips by length of Fat Quarter (about 22”)
Note - I am following the Two-Color Block so my strip sizes will look slightly different than if you are following the Modern version

Then, sub-cut with both fabrics still stacked together, one FQ will be cut down into 26 pieces.
Separate the fabrics and stack the same fabrics together.
Traditional Version (A - E Fabrics)
Within the Astra pattern (page 6 paper, top of page 5 PDF), I provide cutting instructions for fabrics A - E. Each cut will start with WOF strip and then sub-cut into the final pieces, in bold. Remember to sub-cut the bigger pieces first.
Square Up each yardage before starting to ensure your cuts are straight, I demonstrate this in the video below.
Organize Fabric
Depending on the version (design) you’re making, the layout will vary, but generally, you will want to place fabrics A, B, C, D, E + G grouped together for each block. Below are some examples.
Modern version - mix and match the Fabrics A - E; you can follow the directions and keep the B, D & E groups or make it your own and mix and match everything.
Traditional version - each block will be the same colorway for Fabrics A - E.
Two-Color Block version - Fabric B - E will have its own color for the block while fabric A & G (background) will match.
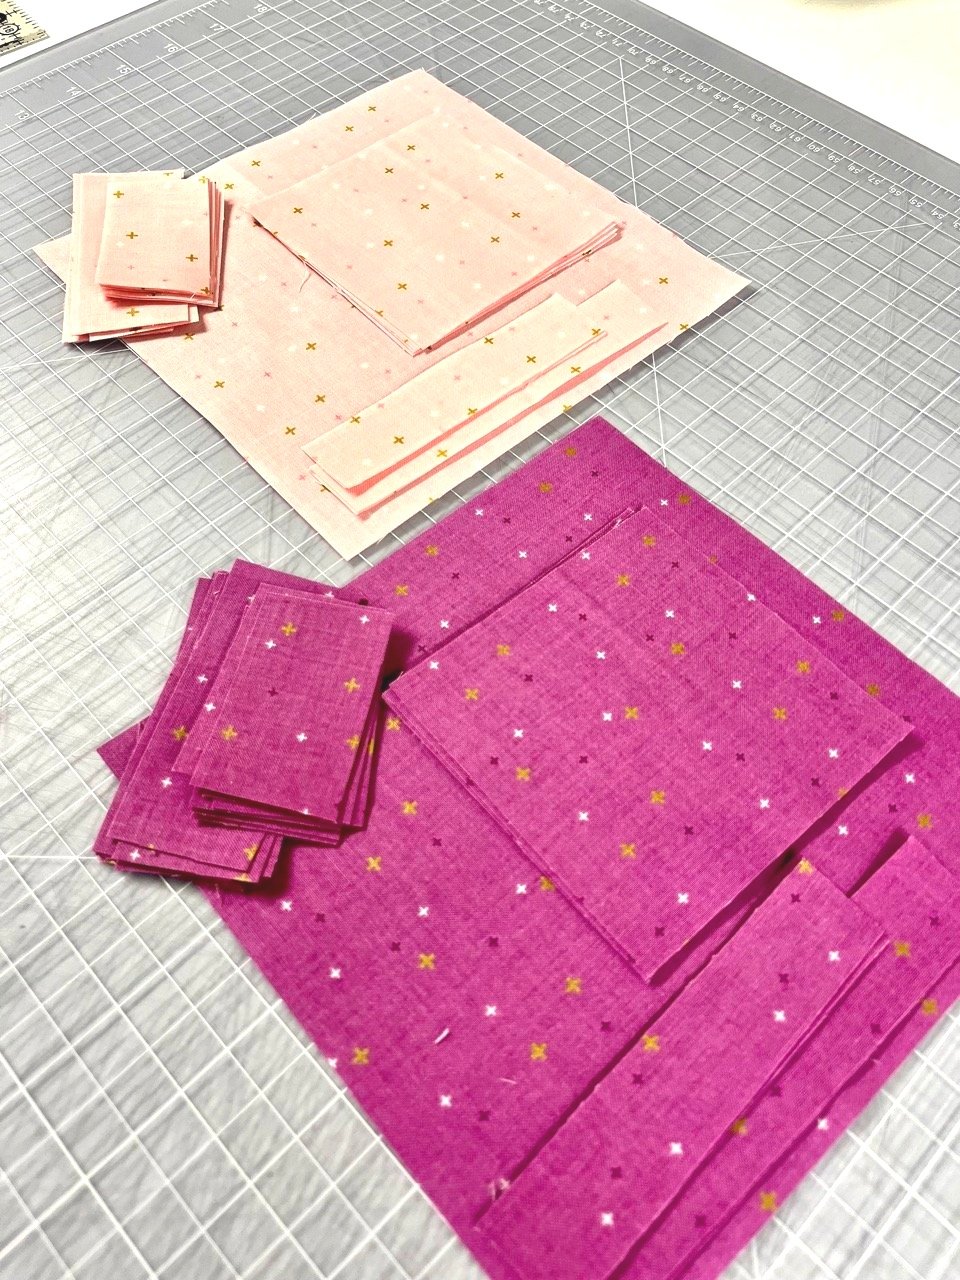
Two-Color Blocks - cut & organized fabric without background
Two-Color background fabrics cut (I did cut fabric F (cornerstones) but not in pictures)
Modern - mixed and matched fabric for each block, this includes the background fabric
Traditional - organized fabric with background fabric
Sewing Station
When sewing I love to set up a workspace around my machine. If you have the ability to do this I highly recommend it, especially for the corner units. I save a ton of time when I can sew, press, and trim without leaving my chair.

Sew First Block (or test block)
Start by gathering all fabrics needed to complete the block. I like to group based on the unit: Flying Geese, Center Unit, and Corner Units. Below are a few general tips for sewing an Astra block.
I use a 1/4” seam throughout; however, please test your seam, you may like a scant 1/4”.
There is wiggle room for the flying geese but make sure you trim before sewing.
For the smaller pieces in the center unit, I like to finger press before using the iron. Also, you may find it lays better if you press open vs pressing to one side.
If you are having difficulty with the corner units, try to slow down your sewing, use pins, or press seams open.
Flying Geese (FG)
Trim, trim, trim. Have I mentioned trimming your FG before sewing?
Here are a few close-ups of my FG so you can see how much room I had to work with and trim off
Detailed FG steps are below in the directional fabric section.
Untrimmed FG

Ensure the point has a 1/4” seam allowance, and align the ruler to measure 3.5” x 6.5” then trim.

Rotate the block, align the ruler to measure 3.5” x 6.5”, then trim.
Trimmed FG
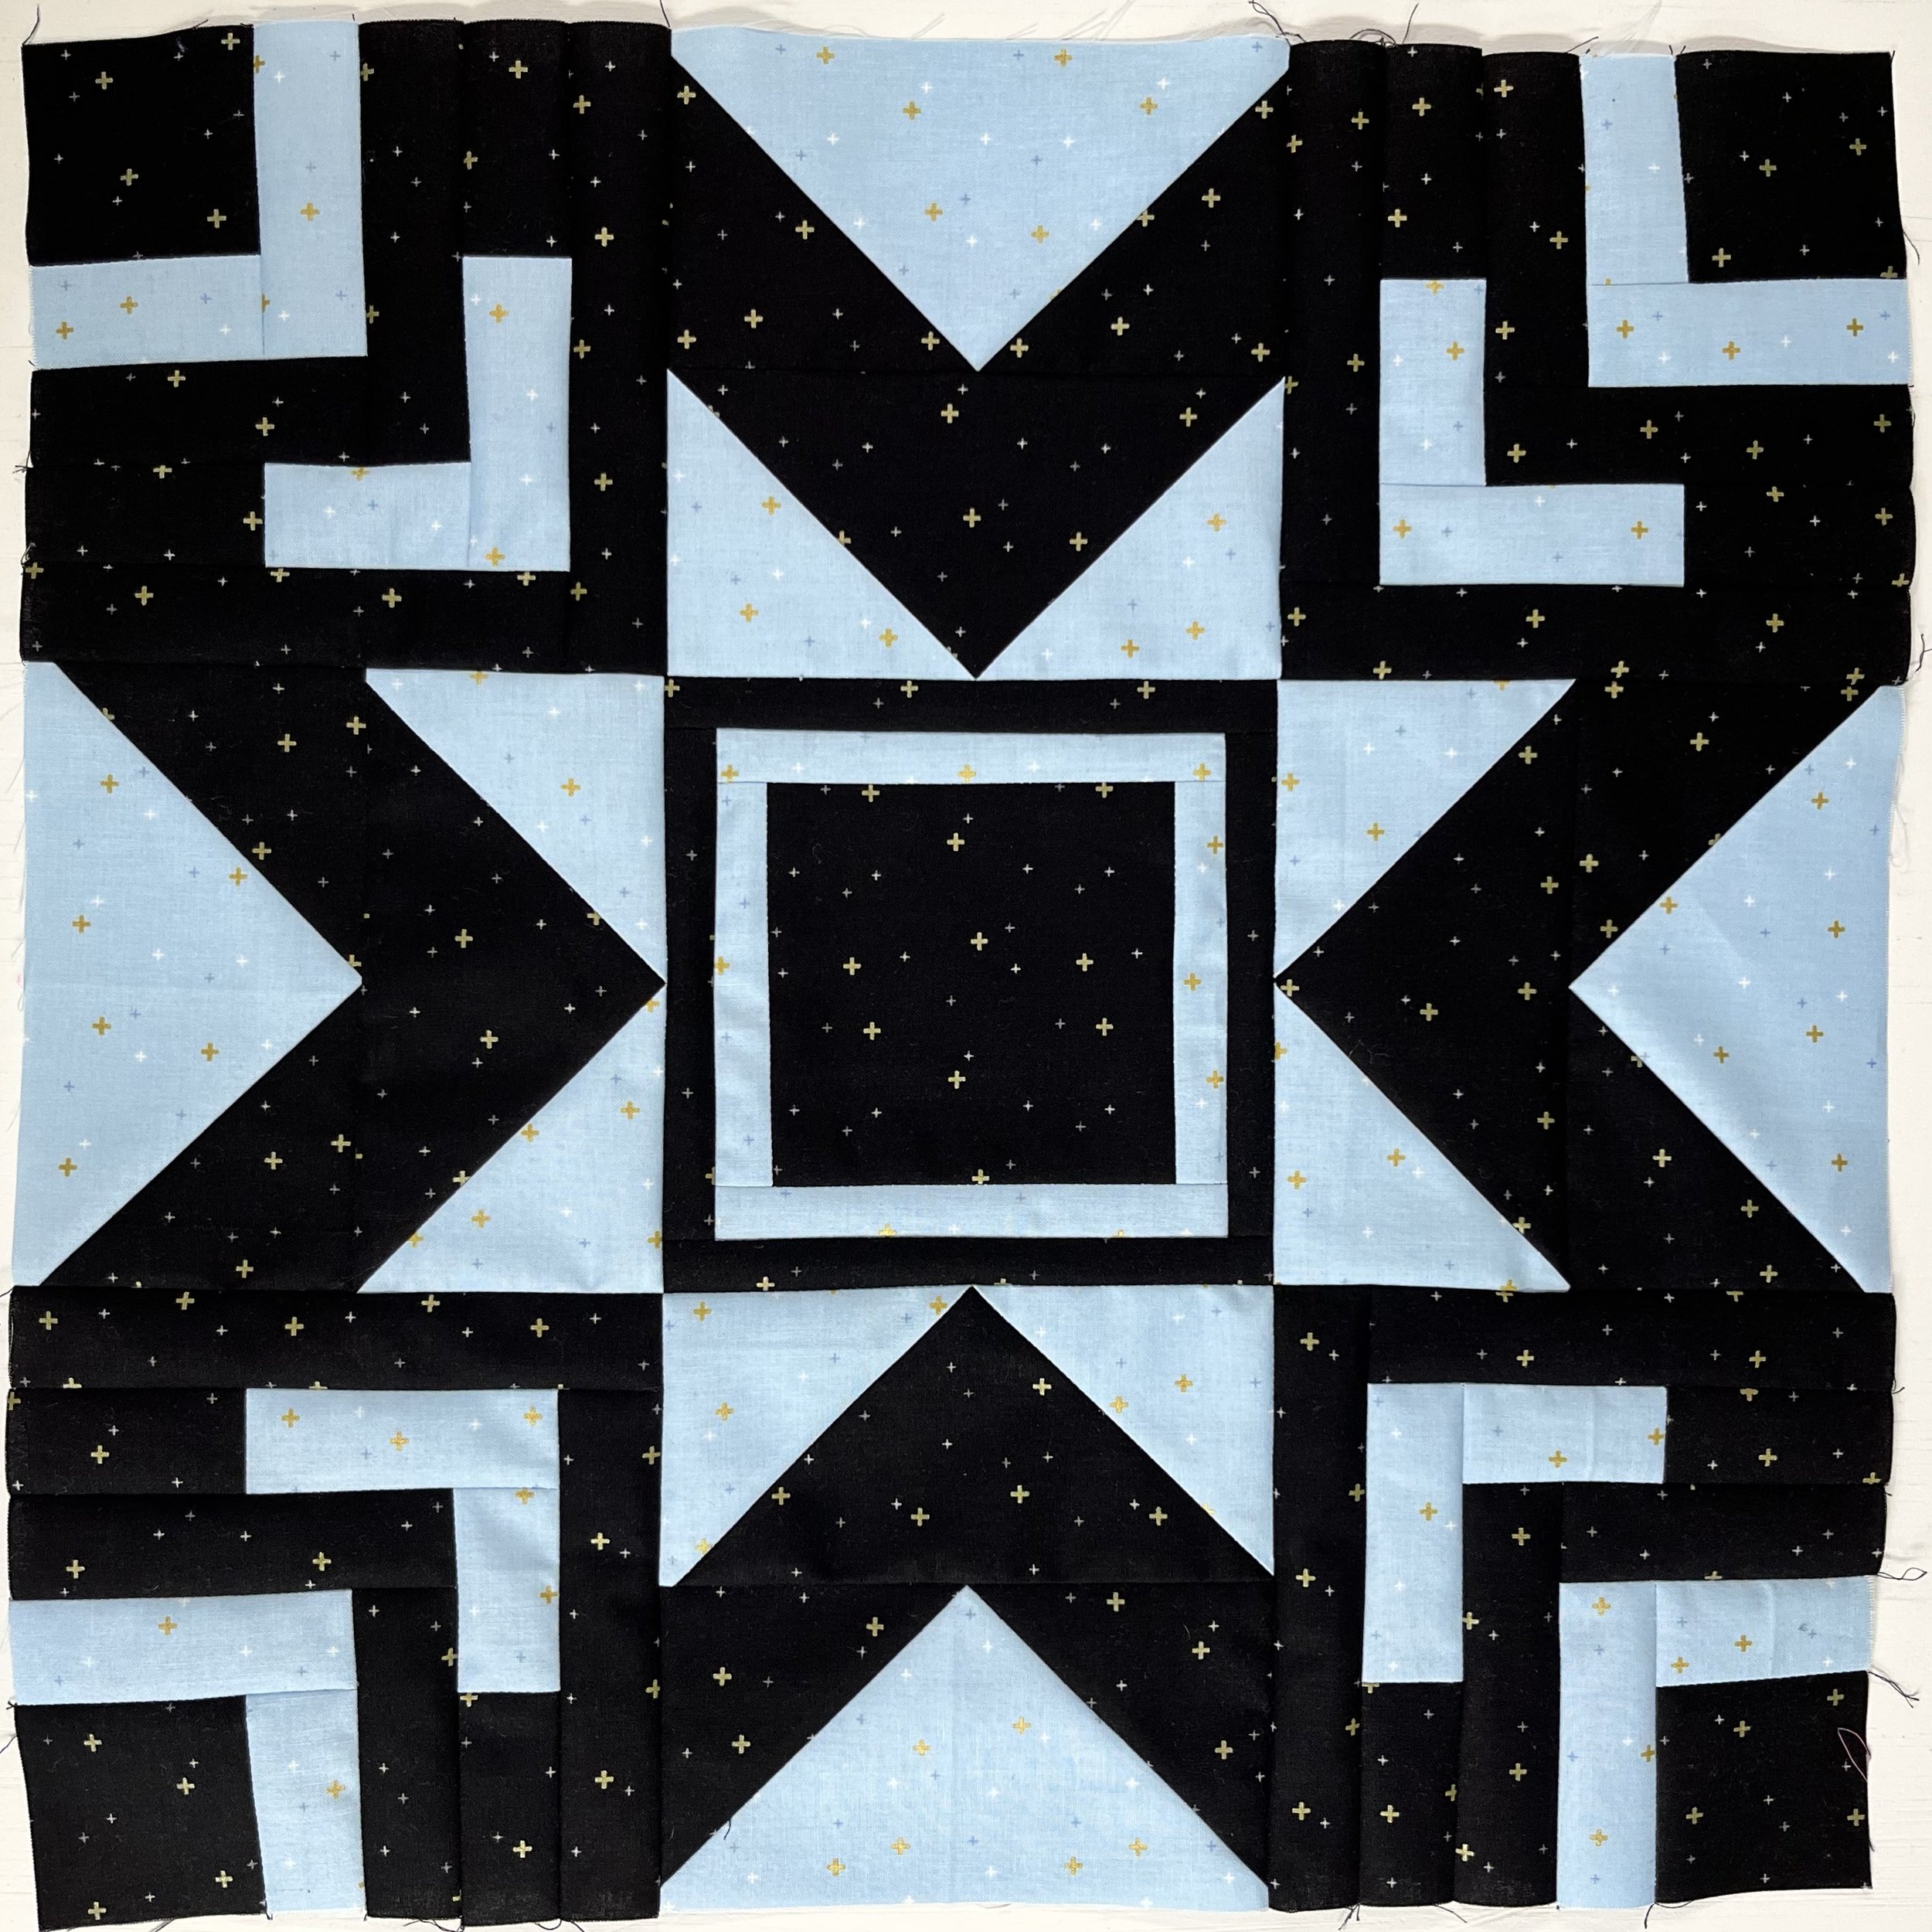
My First Block
Directional Fabric with Flying Geese
Are you using directional fabric? If yes, these next few steps will help you keep them going in the same direction.
When using directional fabric for the smaller square (Fabric B3), follow the steps below. You will end up with 2 FG with stripes going horizontal and 2 flying geese with strips going vertical.
When using directional fabric for the bigger square (Fabric C), there are no special steps to take. You will end up with 2 FG with stripes going horizontal and 2 flying geese with strips going vertical.
1. Scrap fabric I’ll use to demo directional fabrics in FG.
2. Align two small squares with the directions going the same way and mark on the diagonal.

3. Place the two small squares on opposite corners of the big square. Ensure the direction fabric is going the same way and your marked lines match.

4. Pin and sew a 1/4” seam on each side of the marked line.

5. Cut on the marked line.

6. Press smaller triangles up

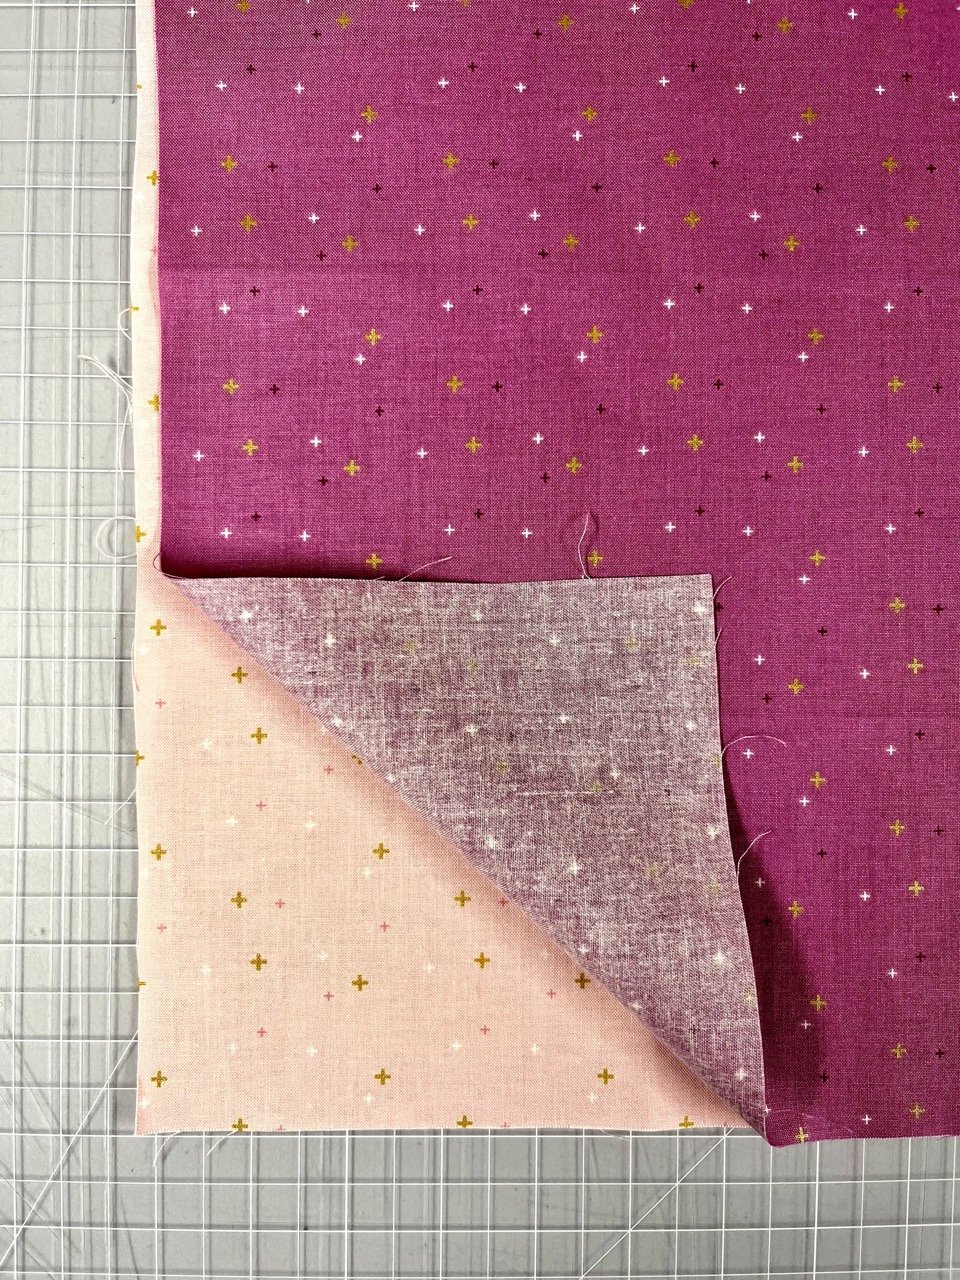
7. Place a small square, right sides together, on the untouched corner. (do not mark this square yet)

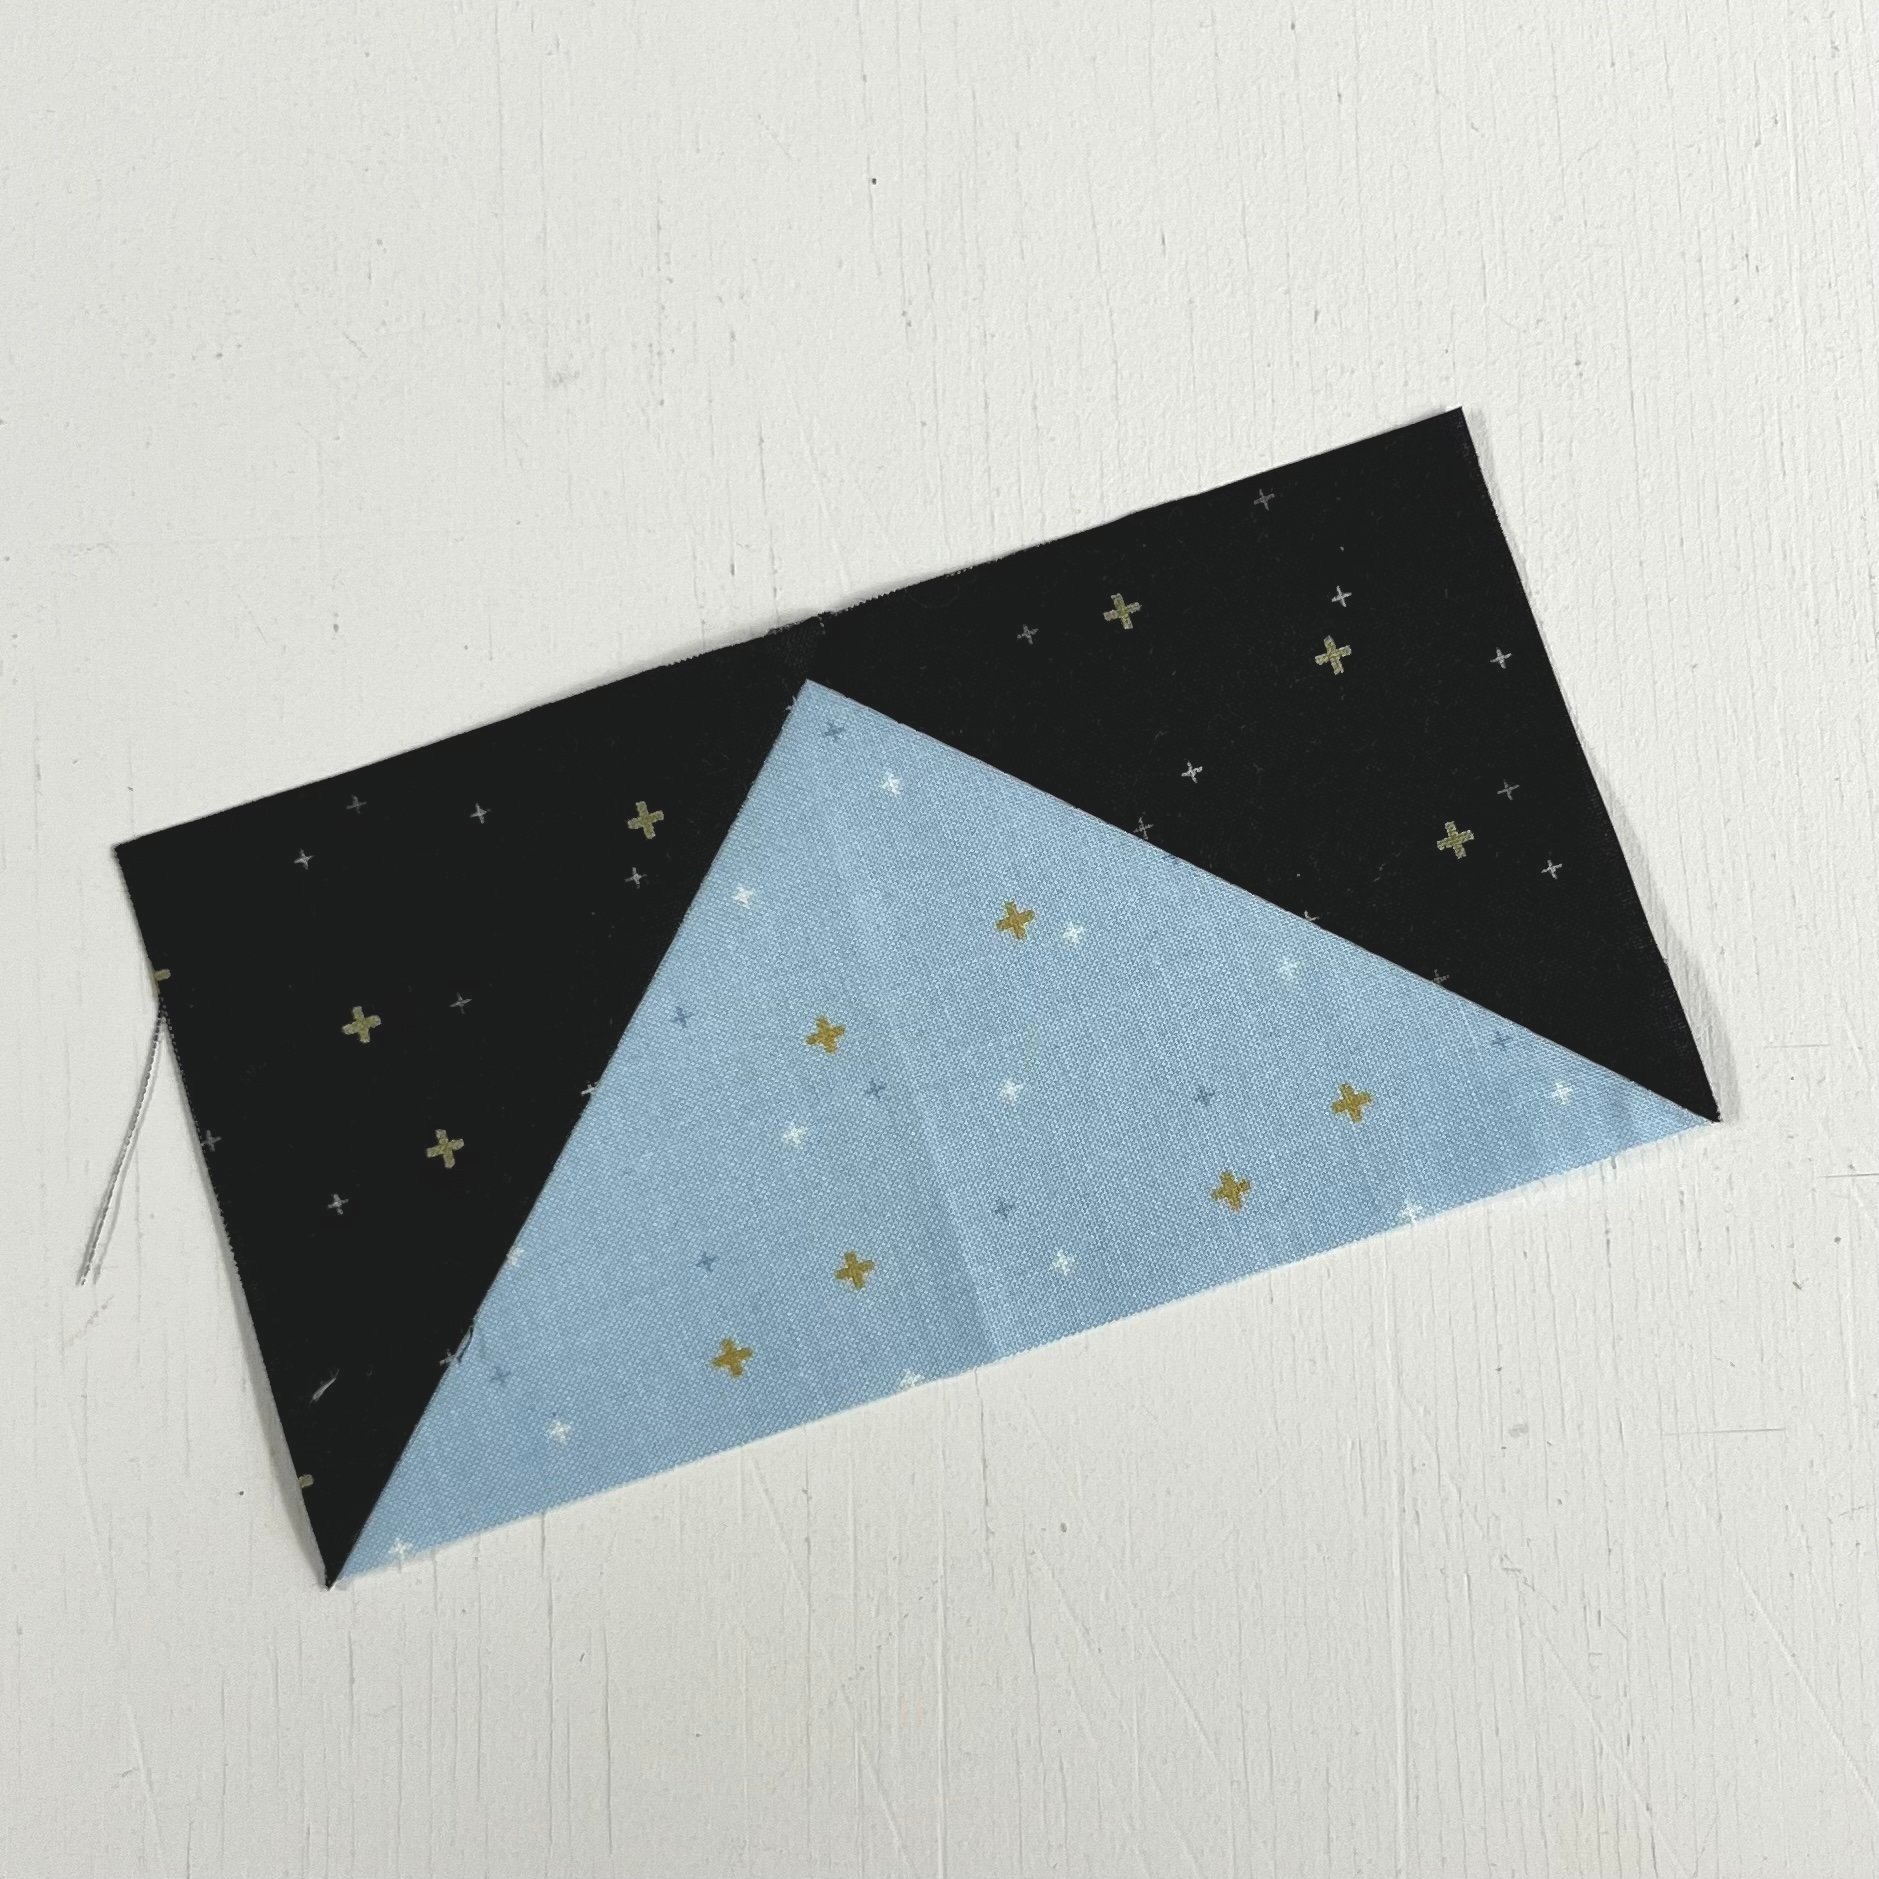
8. Lift up one side of the small square to ensure the fabric direction is going the “right” way. This photo is showing it the correct way.

>> This photo is showing the incorrect way.

9. Mark and pin small squares

10. Pin and sew a 1/4” seam on each side of the marked line.

11. Cut on the marked line.

12. Repeat steps 7 - 11 on the other geese block. Press small triangles up.

13. Trim & arrange the direction fabric the same way before sewing.
Enter Week 2 Giveaway
To enter the Week 2 prize, post a photo of your cut fabric and first block. If you’re on Instagram, use the hashtag #astraquiltsal. Else please email me at hi@zahm.co. You must post or submit by Friday, July 22nd, 11:59 pm MDT, to be entered into the Week 2 giveaway.
Week 2 Prize - 13 Fat Quarter Bundle of AGF Pure Solids, Artwork Quilt Paper Pattern, and Sew Happy Sticker
Sponsored by Wooden Spools and Zahm Co
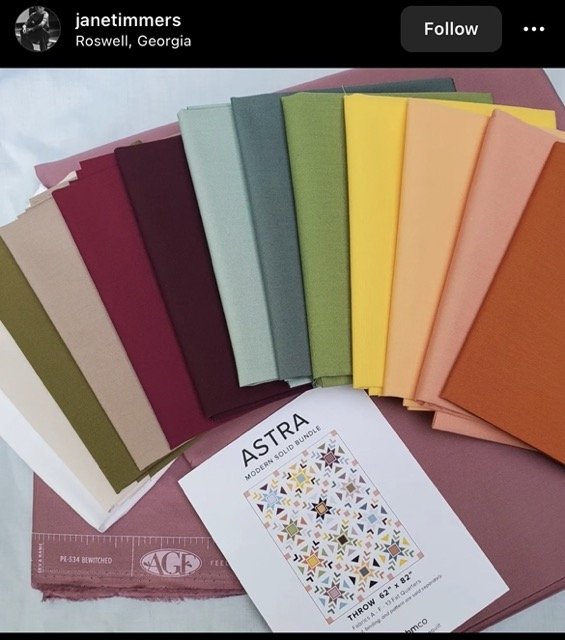
Congratulations to our Week 1 winner @janetimmers! Thanks for being here and I can’t wait to see how those colors turn out.