Grid View Quilt SAL: Week 3
Week 3: Sew Blocks 2 + 3 + 4
Welcome to Week 3 of the Grid View Quilt Sew Along (SAL)! This week will be sewing up the remaining blocks: 2 + 3 + 4. If you recently joined the SAL, welcome! I’m Katie, creator, and quilter behind Zahm [z-ah-m] Co. I’m excited to guide you over the next few weeks as we make Grid View quilt tops together.
If you haven’t yet, grab your pattern here PDF Grid View Pattern or Paper Grid View Pattern.
SAL Schedule
Week 1: Select Fabric & Gather Supplies
Sponsor: Quiltfolk - One-Year Subscription + Quiltfolk Life V1 Book ($85)
Week 2: Cut Fabric + Sew Block 1 - July 17th
Sponsor: Creative Grids - Stripology XL Ruler ($85)
Week 3: Sew Blocks 2 + 3 + 4 - July 24th
Sponsor: Elegant Virgule Inc - $50 gift card + Liberty Bundle of Tana Lawn fabrics ($100)
Week 4: Assemble Quilt Top - July 31st
Sponsor: Oliso - (1)ProPlus SmartIron + (1)Mini Iron ($260)
Sponsor: Ollie Fabrics - $50 Gift Card ($50)

Week 3 Assignment: Sew Blocks 2 + 3 + 4
This week we are going to be little sew fairies as we piece our remaining blocks. It will be the most time-consuming week, but I have a feeling you will find your grove and knock it out in no time.
Time Management
Katie’s total time to complete Week 3 Assignment: 3 hours and 15 minutes
Favorite Tools
Quilting Ruler Stripology XL (saves me half the time)
Tip 1: General Tips
Continue to reference Week 2 blog post.
Remember, consistency is key throughout each stitch and step. Examples would be keeping the needle position the same throughout the quilt top or using the same rulers, iron, etc.
Double-check the trim widths for each block; note these do change depending on the block, and I would hate for it to be cut wrong.
The best tip when strip piecing is to alternate your sewing direction; this is demonstrated in the Grid View Quilt Pattern: Introduction + Techniques video at 10:21.
The best tip when nesting seams is it all starts with pressing. Press in the same direction always as you sew your strips or blocks. When you sew your rows, ensure the seams “nest” into each other. Here is a whole block post on Nesting Seams.
I pin everything; I am still not sure if it’s a curse or a blessing but to me, pins are reliable, and I know what to expect when I pin before I sew; therefore, I will spend the time to pin. But do what you enjoy the most - I want us to have fun.
Tip 2: Block 4
When adding the third row, I take a moment and align the center seams between rows one and three. In other words, I don’t use row 2 too much as a guide because I rather use the center lineup. Eyeball it of course. I wasn’t going crazy with it, but you know then I pinned it. :)

Row 3 is slightly pulled back so I can align the center seams.
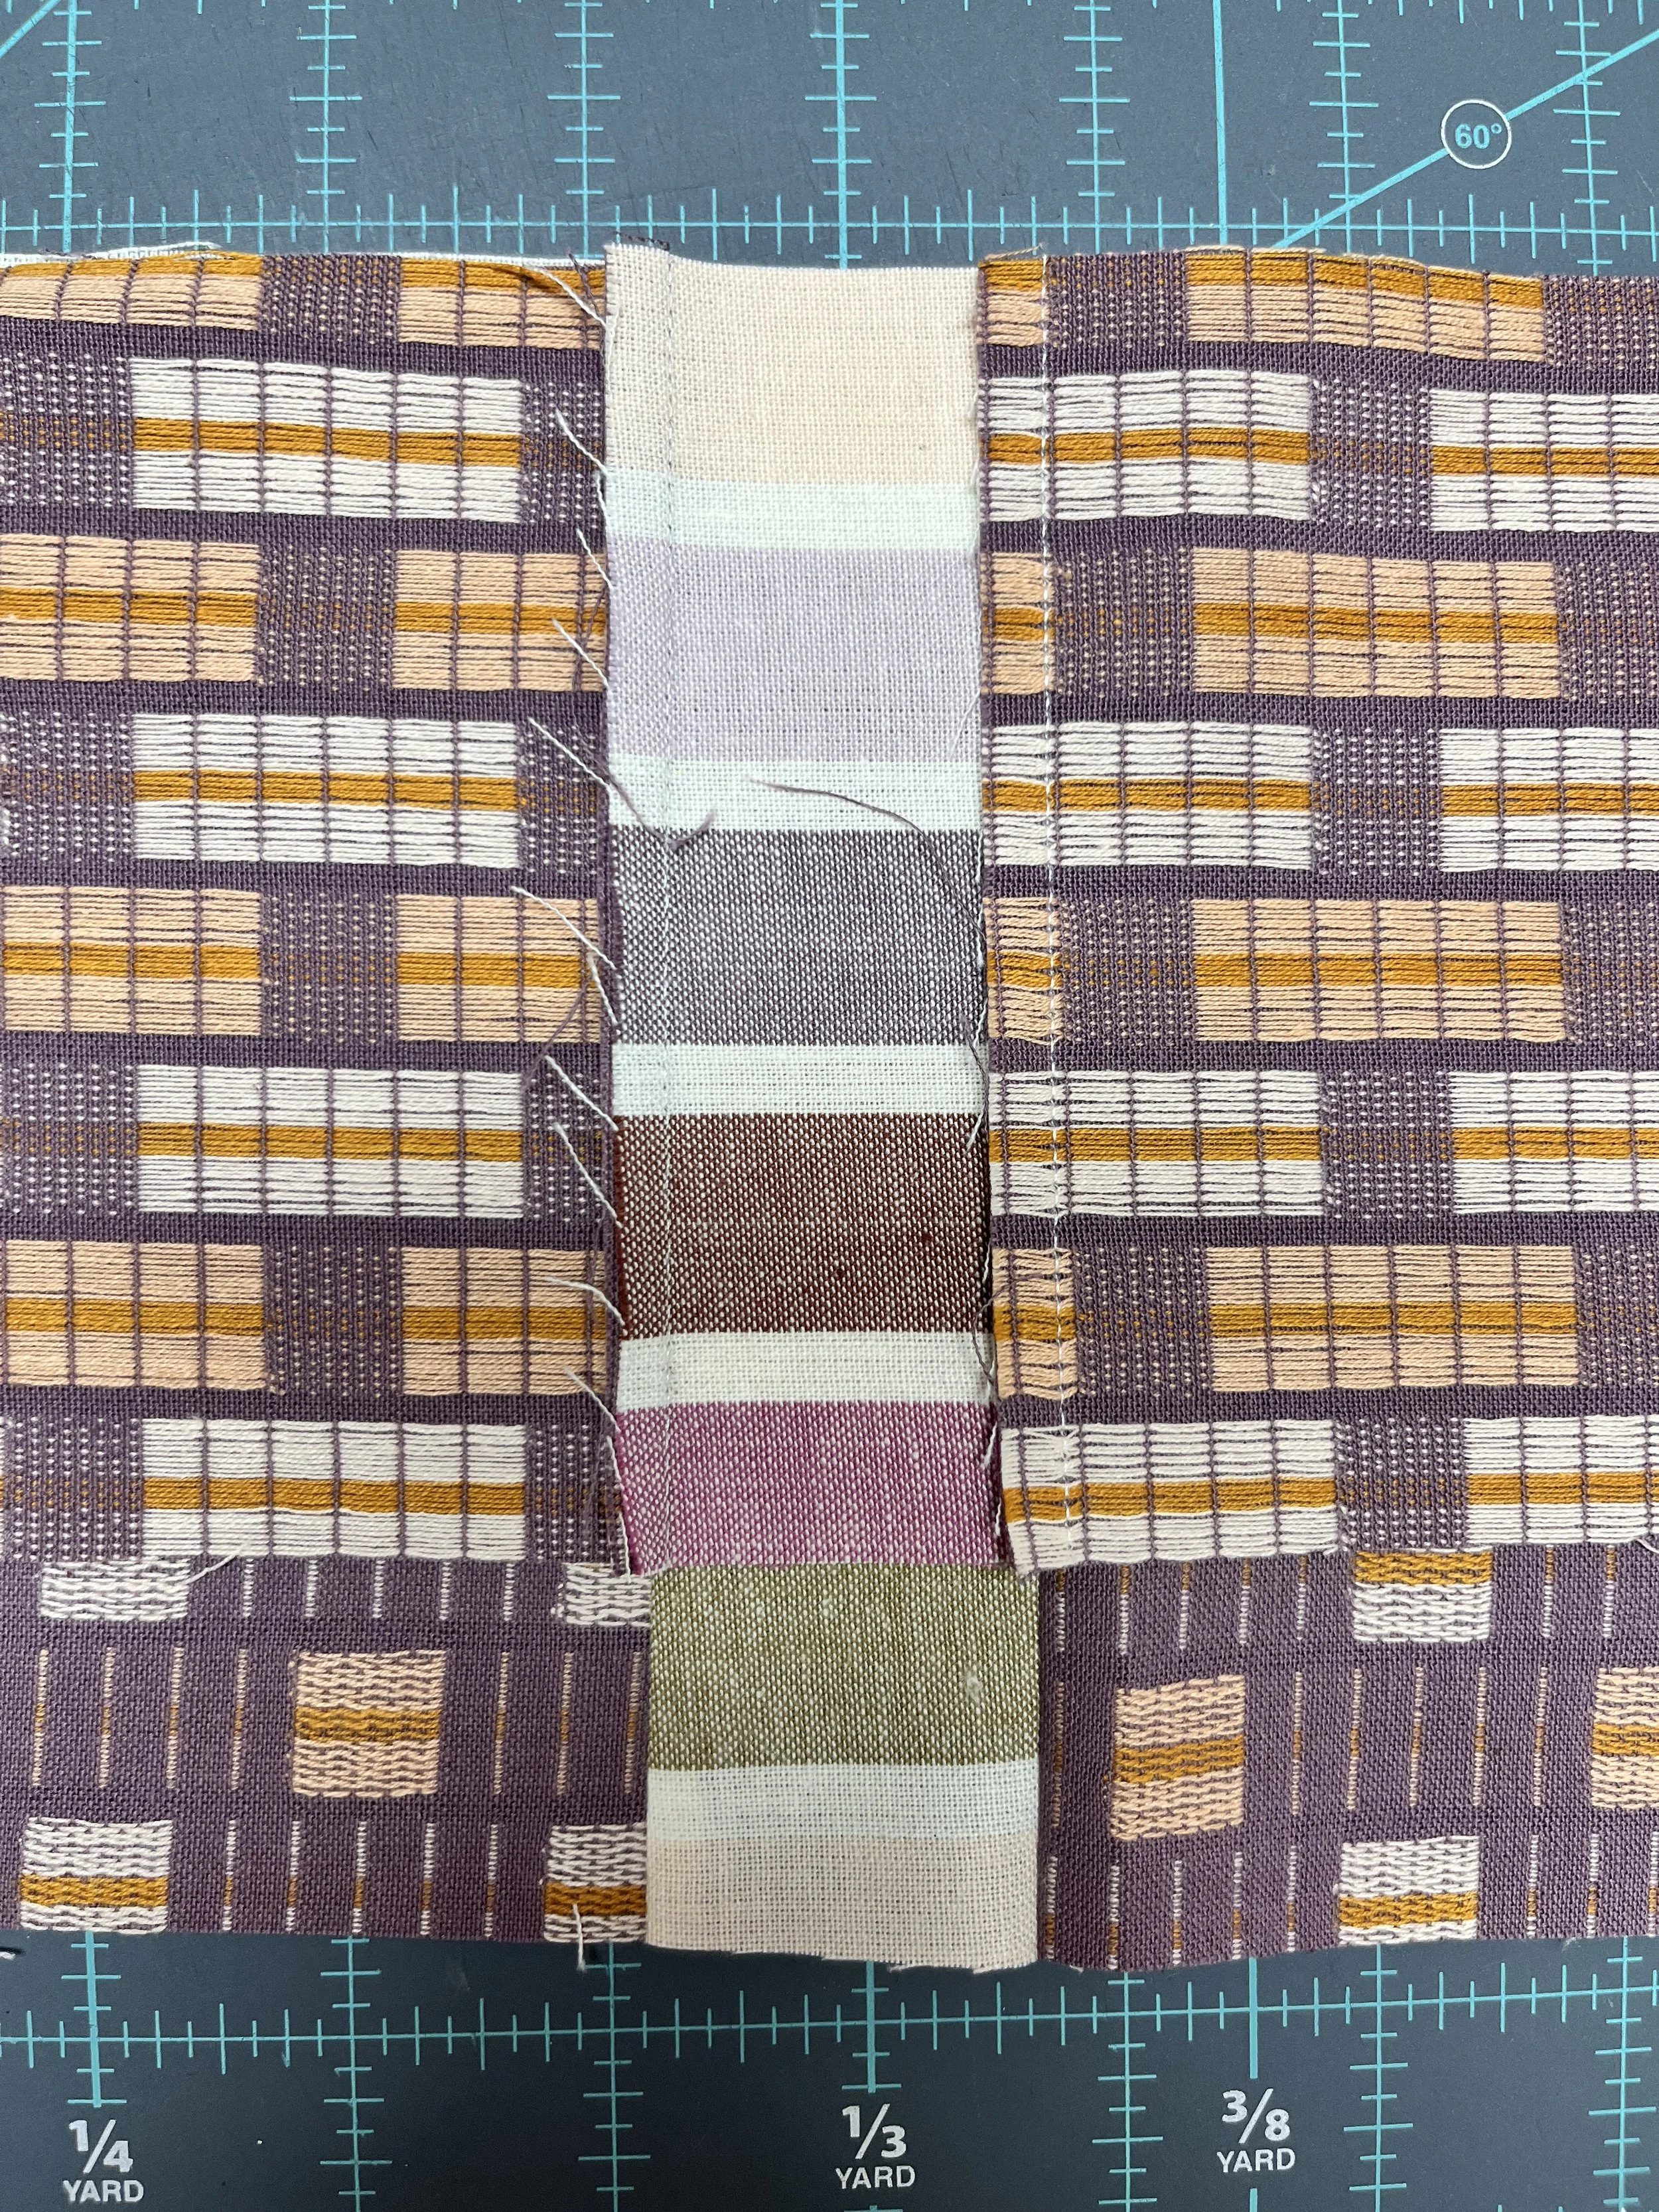
Once aligned, I lay row three flat and pin.
Katie’s Week 3: Assignment
Sewn Blocks 2 + 3 + 4

Enter Week 3 Prize
To enter the Week 3 prize, post a photo of all your finished blocks 2, 3, and 4 on Instagram and use the hashtag #gridviewquiltsal. Post by Sunday, July 30, 2023, 11:59 pm MST, to be entered into the Week 3 prize.
Week 3 Prize - One lucky person will win an Elégant Virgule $50 gift card + Liberty Bundle of Tana Lawn. Good Luck!
Sponsored by Elegant Virgule Inc
Winner: @meghanhaiderer; congrats, Meghan!

